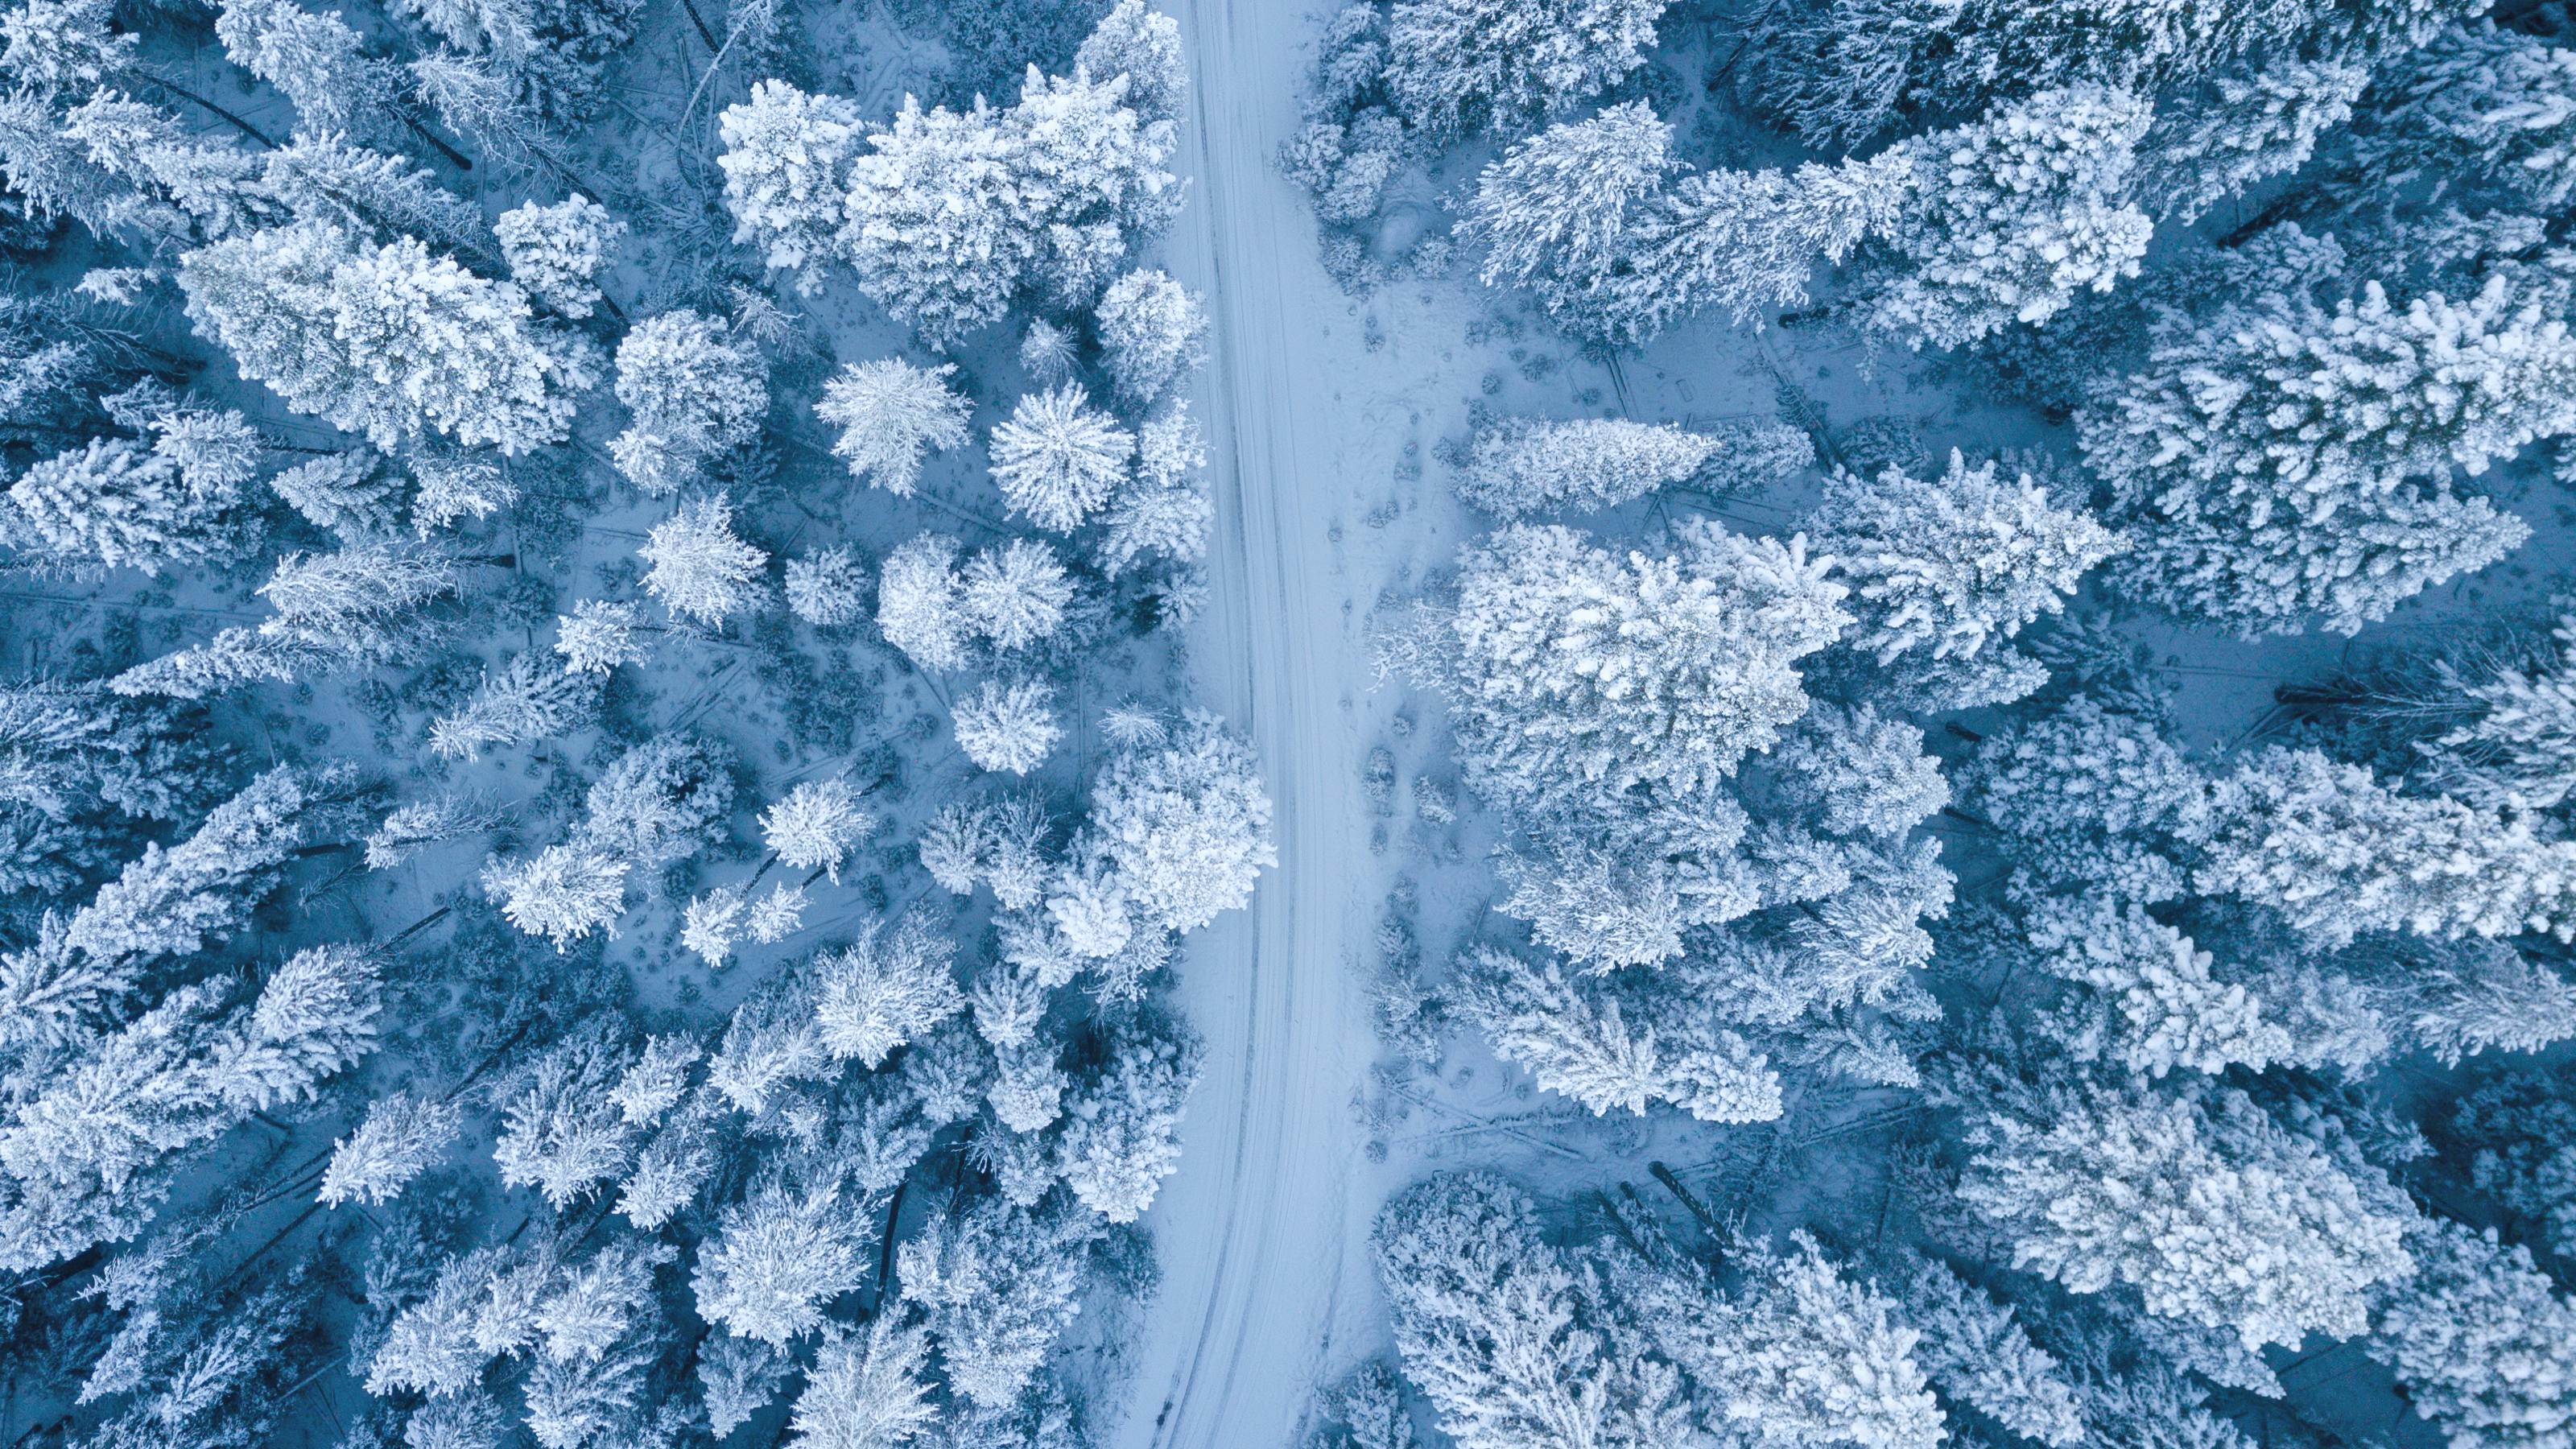
Winter can be a truly magical time for photographers – from shooting snow that is slowly descending from the sky to chasing the Northern Lights – it’s a great time to get outdoors and have some fun with your camera. However, this time of the year also brings about unique challenges that need to be properly prepared for. Here we put together a list of recommendations for shooting during the wintertime and how best to utilize your time.
Dress Warm
Pretty obvious, but dress appropriately for the occasion! It may depend on the particular weather conditions but start off with thermal base layers and then add on until you have an outfit that is both water and windproof (e.g. sweatshirts, jackets, thick socks, beanie/hat, gloves, etc.) Try to avoid clothing with cotton as you can get cold very easily if they get wet – synthetic fleeces or wool are better options.
But when it comes to photography/videography, having the right pair of gloves can play a major factor in how your trip turns out. Luckily there are numerous options to choose, including fingerless, detachable, padded and even power heated. Which gloves you should choose to keep your hands warm will be dependent on the visited environment and your own personal preferences, but they should also not make it difficult to adjust your camera’s dials and buttons. Making changes when you have additional layers on can be extra challenging, compared to when you’re in more comfortable conditions.
Additionally, have a couple of heat packs on-hand if your gloves aren’t enough. Heat packs are inexpensive and can provide hours of warmth to your hands – place them in your gloves for instant relief.
Bring Spare Batteries
It’s a known fact that cold weather causes batteries to drain faster than normal. Even when they’re not in use, inside of a camera, they will still lose their charge. To prevent significant charge loss, we recommend storing them in a warm place, like the inside of your jacket pocket. Your body heat will help protect the batteries from rapidly discharging and provide longer periods of shooting.
Protect Your Gear from the Elements
To reduce the chance of water seeping in and damaging the internal components of either your camera, lens, or both, we recommend purchasing a rain cover. Covers can be relatively inexpensive at less than $10, but high-quality ones can range between $50 – $100. It’s a worthwhile investment in comparison to the cost of a full camera repair.
Investing in a good camera bag is also something to consider as it will protect your gear until it’s ready to be used. The ideal bag should offer environmental protection (e.g. waterproof cover), padding in case of bumps or drops, as well as space for all of your gear and additional carrying items.
Carry an Air Blower
In the case that you encounter snowfall, easily remove snowflakes from your camera with a standard lens air blower. Your camera will be cold due to the weather, so the snow will not melt. Avoid brushing snow off with your hands or a cloth though as the warmth could cause it to melt, or you might leave fingerprints on the lens.
Know When the Sun Rises & Sets
Sunrises and sunsets are typically the most photographed times of the day because of the beautiful, vivid colors that are produced in the sky. But there’s a small window when these happen each day, and without proper planning can be missed! During the winter, the sun rises later in the day (7-8 AM) and sets much earlier (4-5 PM), while it can rise as early as 4 AM in the summer.
Increase Camera Exposure
Snow can be a difficult subject to properly expose for – the glare from the snow can confuse your camera, causing it to read the light in the scene wrong and tell you to either underexpose (snow ends up looking gray) or overexpose (blown-out whites and detail loss). The best practice for shooting snowy environments is to adjust your exposure by +0.3 (1/3 of an f/stop) or +0.7 (2/3 of an f/stop), depending on the amount of snow and light. The shadows in an image can be reduced later in post-processing, while overexposed highlights are typically unrecoverable. In addition, a lens hood is recommended for addressing lens flare from the sun’s reflection on the snow.
Use Ruggedized Memory Cards
Just as the cold affects your camera, lens and batteries, so does it affect your memory card(s). All equipment is individually designed to function properly within certain temperature ranges, but when the temperature of an item exceeds those limits, possible malfunctions can occur. To ensure that any photos and videos you take stay safe, we recommend using ruggedized memory cards, such as our Delkin
BLACK memory cards.
BLACK cards are rated to withstand extreme temperature variations: -13°F to 185°F (-25°C to 85°C) for SD & microSD, and 32°F to 158°F (0°C to 70°C) for CFexpress™ Type A & B.
In addition, Delkin BLACK SD memory cards are designed to be stronger and more durable than regular SD cards. Regular SD cards use a standard plastic housing that is prone to breakage or damage during normal use and storage, while BLACK SD utilizes a solid molded design that protects and completely seals the card’s inner components. This makes them waterproof, dustproof and able to withstand over 45 pounds of force or impact.
For more information on Delkin BLACK memory cards, please visit the following link: https://www.delkindevices.com/delkin-black/
Acclimatize Your Camera
After a long day of being out in the cold, all you want to do next is go inside and warm yourself up – this actually isn’t the smartest thing to do as the sudden temperature shift can damage your camera equipment. Your equipment is cold from the outdoors and going from a cold location to a warm one can cause your gear to steam up internally. From there, moisture is created on both the optics and electronics which can lead to fungus.
To slowly acclimatize your gear, put your camera and lens(es) into an airtight plastic bag (zip-lock bag also works) before going indoors. Condensation will want to form on a cold object introduced into a warm environment, which in this case will be the plastic bag. Separated by the plastic bag, your camera gear can then warm up without creating moisture around itself. Leave it inside of the bag for at least two hours.


