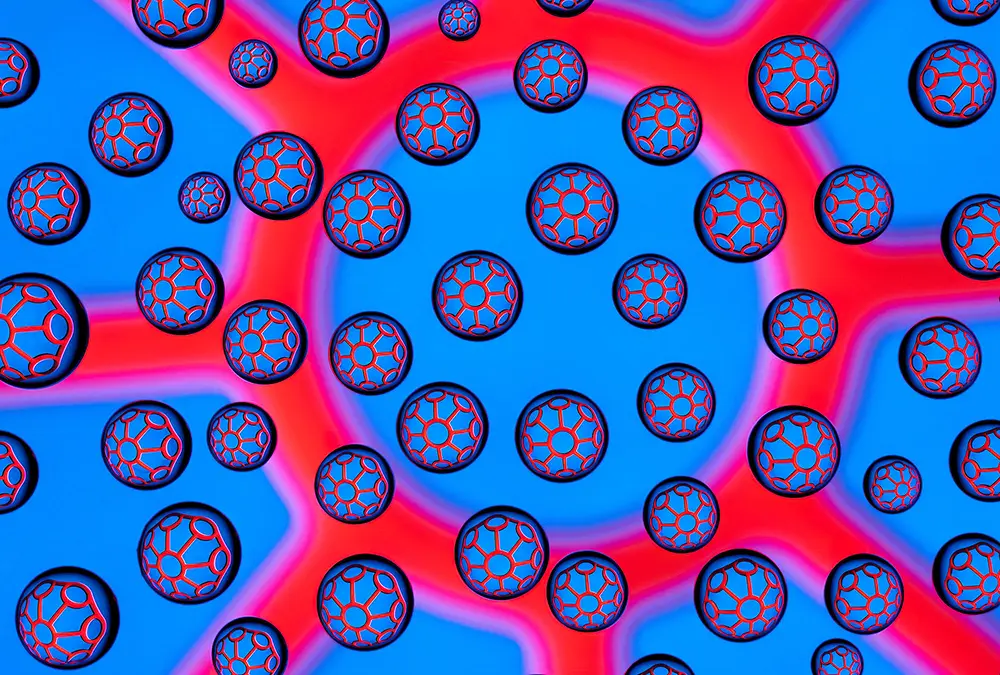
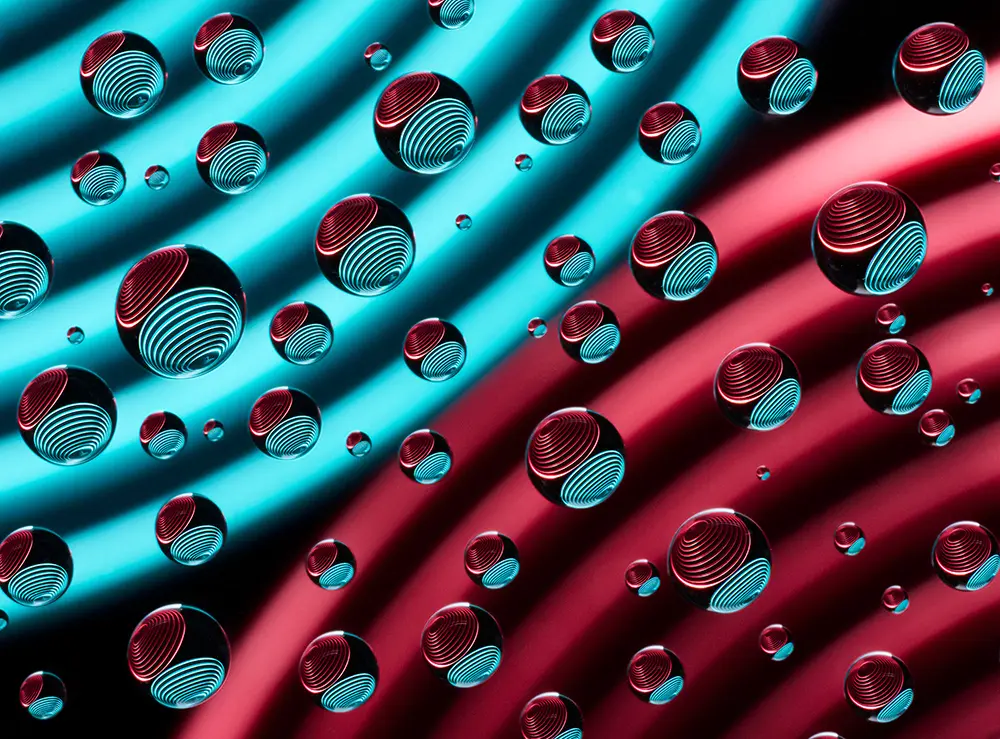
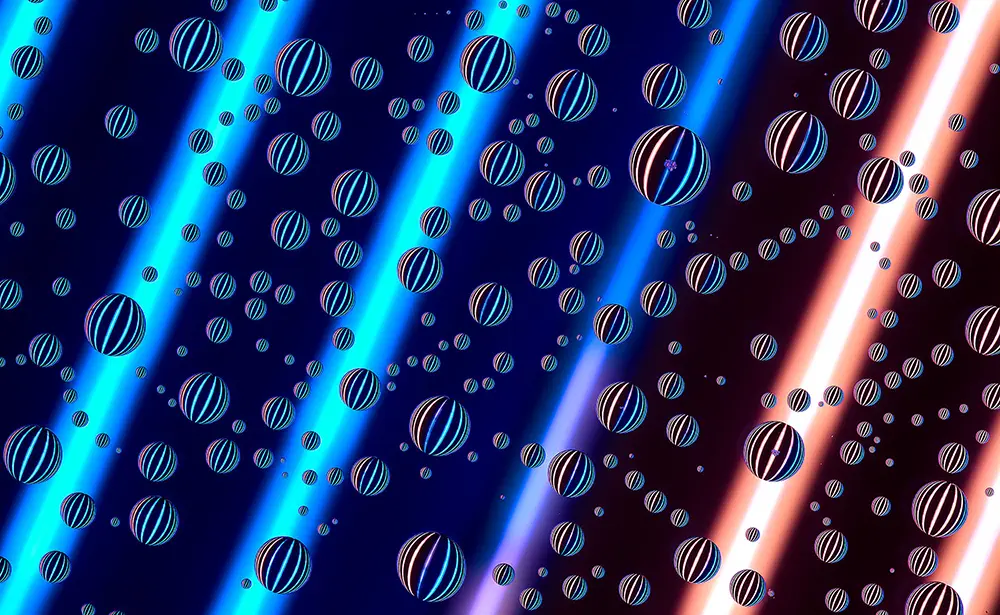
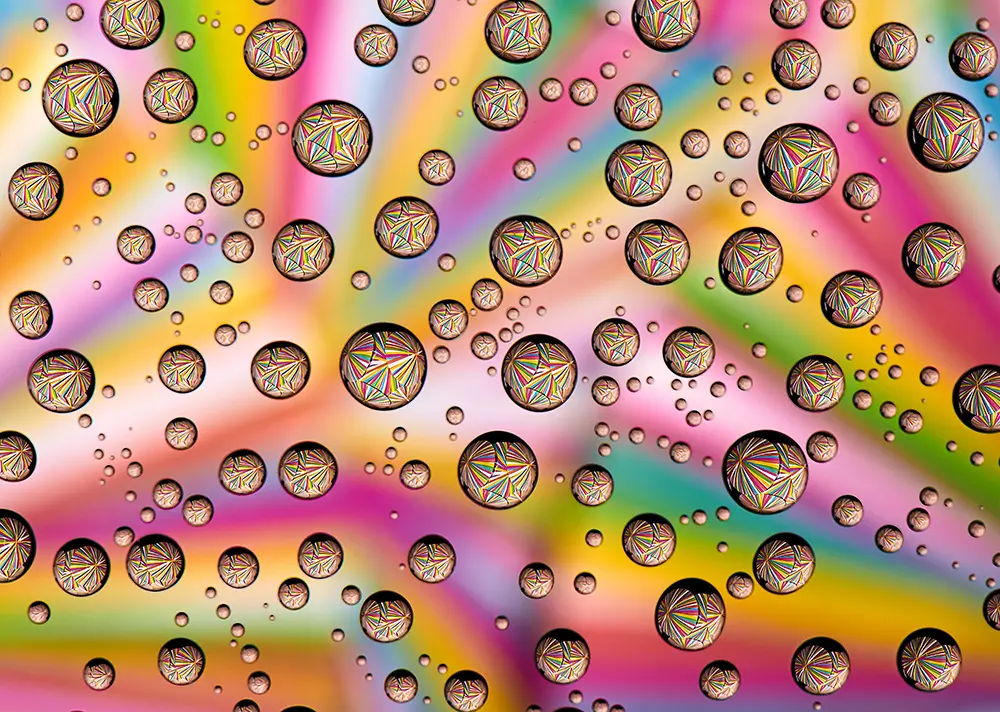
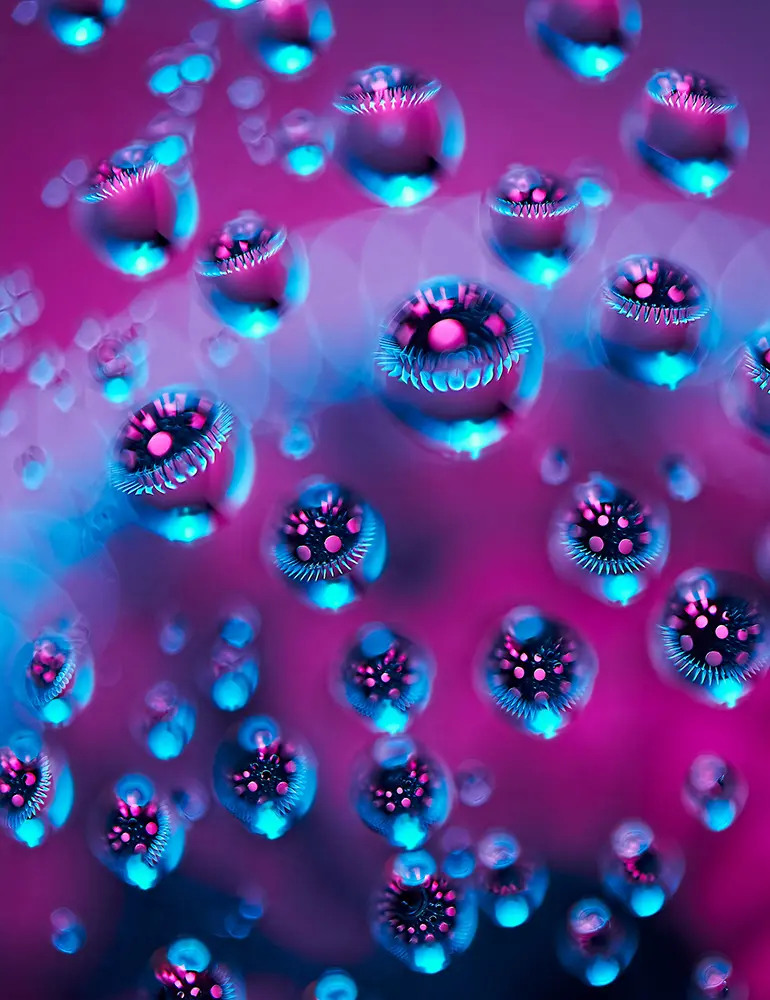
The ways to experience photography are many, but the possibilities that exist inside a water droplet are truly mesmerizing—and completely immersive.
The process begins with a sheet of glass as the surface for the water droplets. It’s ideal to use the thinnest sheet possible to have minimal impact on the optical quality of what’s being magnified below. Using low-iron glass will reduce the green tint that’s visible in most ordinary glass, but any glass will work.
Adding a second sheet of glass positioned below the top sheet makes it possible to support transparent, translucent, or opaque subjects. And, by changing the spacing between the two glass surfaces it’s easy to adjust the size of the object within each water droplet. Think of it as three layers that begins with the droplets on the top glass, the subject beneath the droplets on the second piece of glass, and then the background beneath both. The spatial relationship between each layer is flexible, and the ideal combination depends on the lens magnification, the size of the subject, and the lens aperture used.
The next step is to choose an interesting subject for the water droplets to magnify. Generally, flat, well-defined objects with sharp edges or strong patterns work best. Nothing is off limits though!
Finally, consider the lighting, color, background, and how the three will work in harmony with the subject. Of course, it is entirely possible to create water droplet photographs using available light, but the possibilities really expand when you add directional light to the image. The addition of a second light source makes it possible to illuminate the subject and background separately, and treat each layer as a completely separate element.
Once the subject has been selected, the background chosen, and the lighting established, all of the glass surfaces should be cleaned thoroughly and any residual dust removed. The upper glass sheet should then be coated with a product called Rain-X. It’s a spray that’s available at most auto supply stores and will make the water droplets hold their shape for photographing. Simply spray the Rain-X onto the area where the droplets will be, distribute it evenly with a lint-free tissue, allow about five minutes for it to dry to a haze, and then polish the glass until it becomes clear.
The next step is to add the water droplets to the surface of the glass. Injecting distilled water from a hypodermic needle makes it easier to position the water droplets into the precise location needed rather than randomly spraying from a bottle. The needles also make it possible to vary the size of each drop by either adding or withdrawing liquid from each droplet. Needless to say, this requires patience and a steady hand, but it’s really the best way to obtain the precise arrangement of droplets desired.
Water droplet photography can be extremely gratifying because the image is a creation of the photographer’s imagination from start to finish. It’s a place to experiment, to play, to discover, and to refine your skills as a photographer. And along the way, you’ll be creating art in every sense of the word.
The rich potential within macro photography has always been a deep fascination for professional photographer Joey Terrill. Using his cameras and lenses to magnify and explore, he experiments with unusual subjects, a variety of liquids, exotic flowers, and then shapes what he discovers with careful illumination. His macro studio is dedicated to exploring new possibilities. He is a Nikon Ambassador and Delkin ImageMaker.
Visit: https://www.joeyterrill.com
