
What is sensor cleaning? Do I need to worry about it? How should I clean my sensor? Whether you recently got your first DSLR or you’ve owned one for years, sensor cleaning is typically one of the last things that come to mind when it comes to camera care. It’s only when we start seeing those annoying specs (black or grey spots) show up on our photos or videos that we realize that there is an issue. As post-production editing is the only way to remove those spots, which can be tedious and time-consuming, here’s a step-by-step breakdown on how to inspect your camera sensor and properly clean it for flawless capture.

DETERMINE IF YOUR CAMERA’S SENSOR NEEDS TO BE CLEANED
In the past, you would need to set your camera’s F-stop to a specific number, shoot a blank sheet of white paper or a bright blue sky, then magnify the image on your computer screen to view your sensor and identify any debris. But now there are a handful of different inspection devices that make it quick and easy to determine if cleaning is necessary. Delkin’s SensorScope® inspection device is universally compatible with any DSLR lens mount and provides a magnified and illuminated in-focus view of the camera’s sensor surface. Sensor inspection is recommended before every shoot and in a dry, enclosed room without a lot of air circulation.

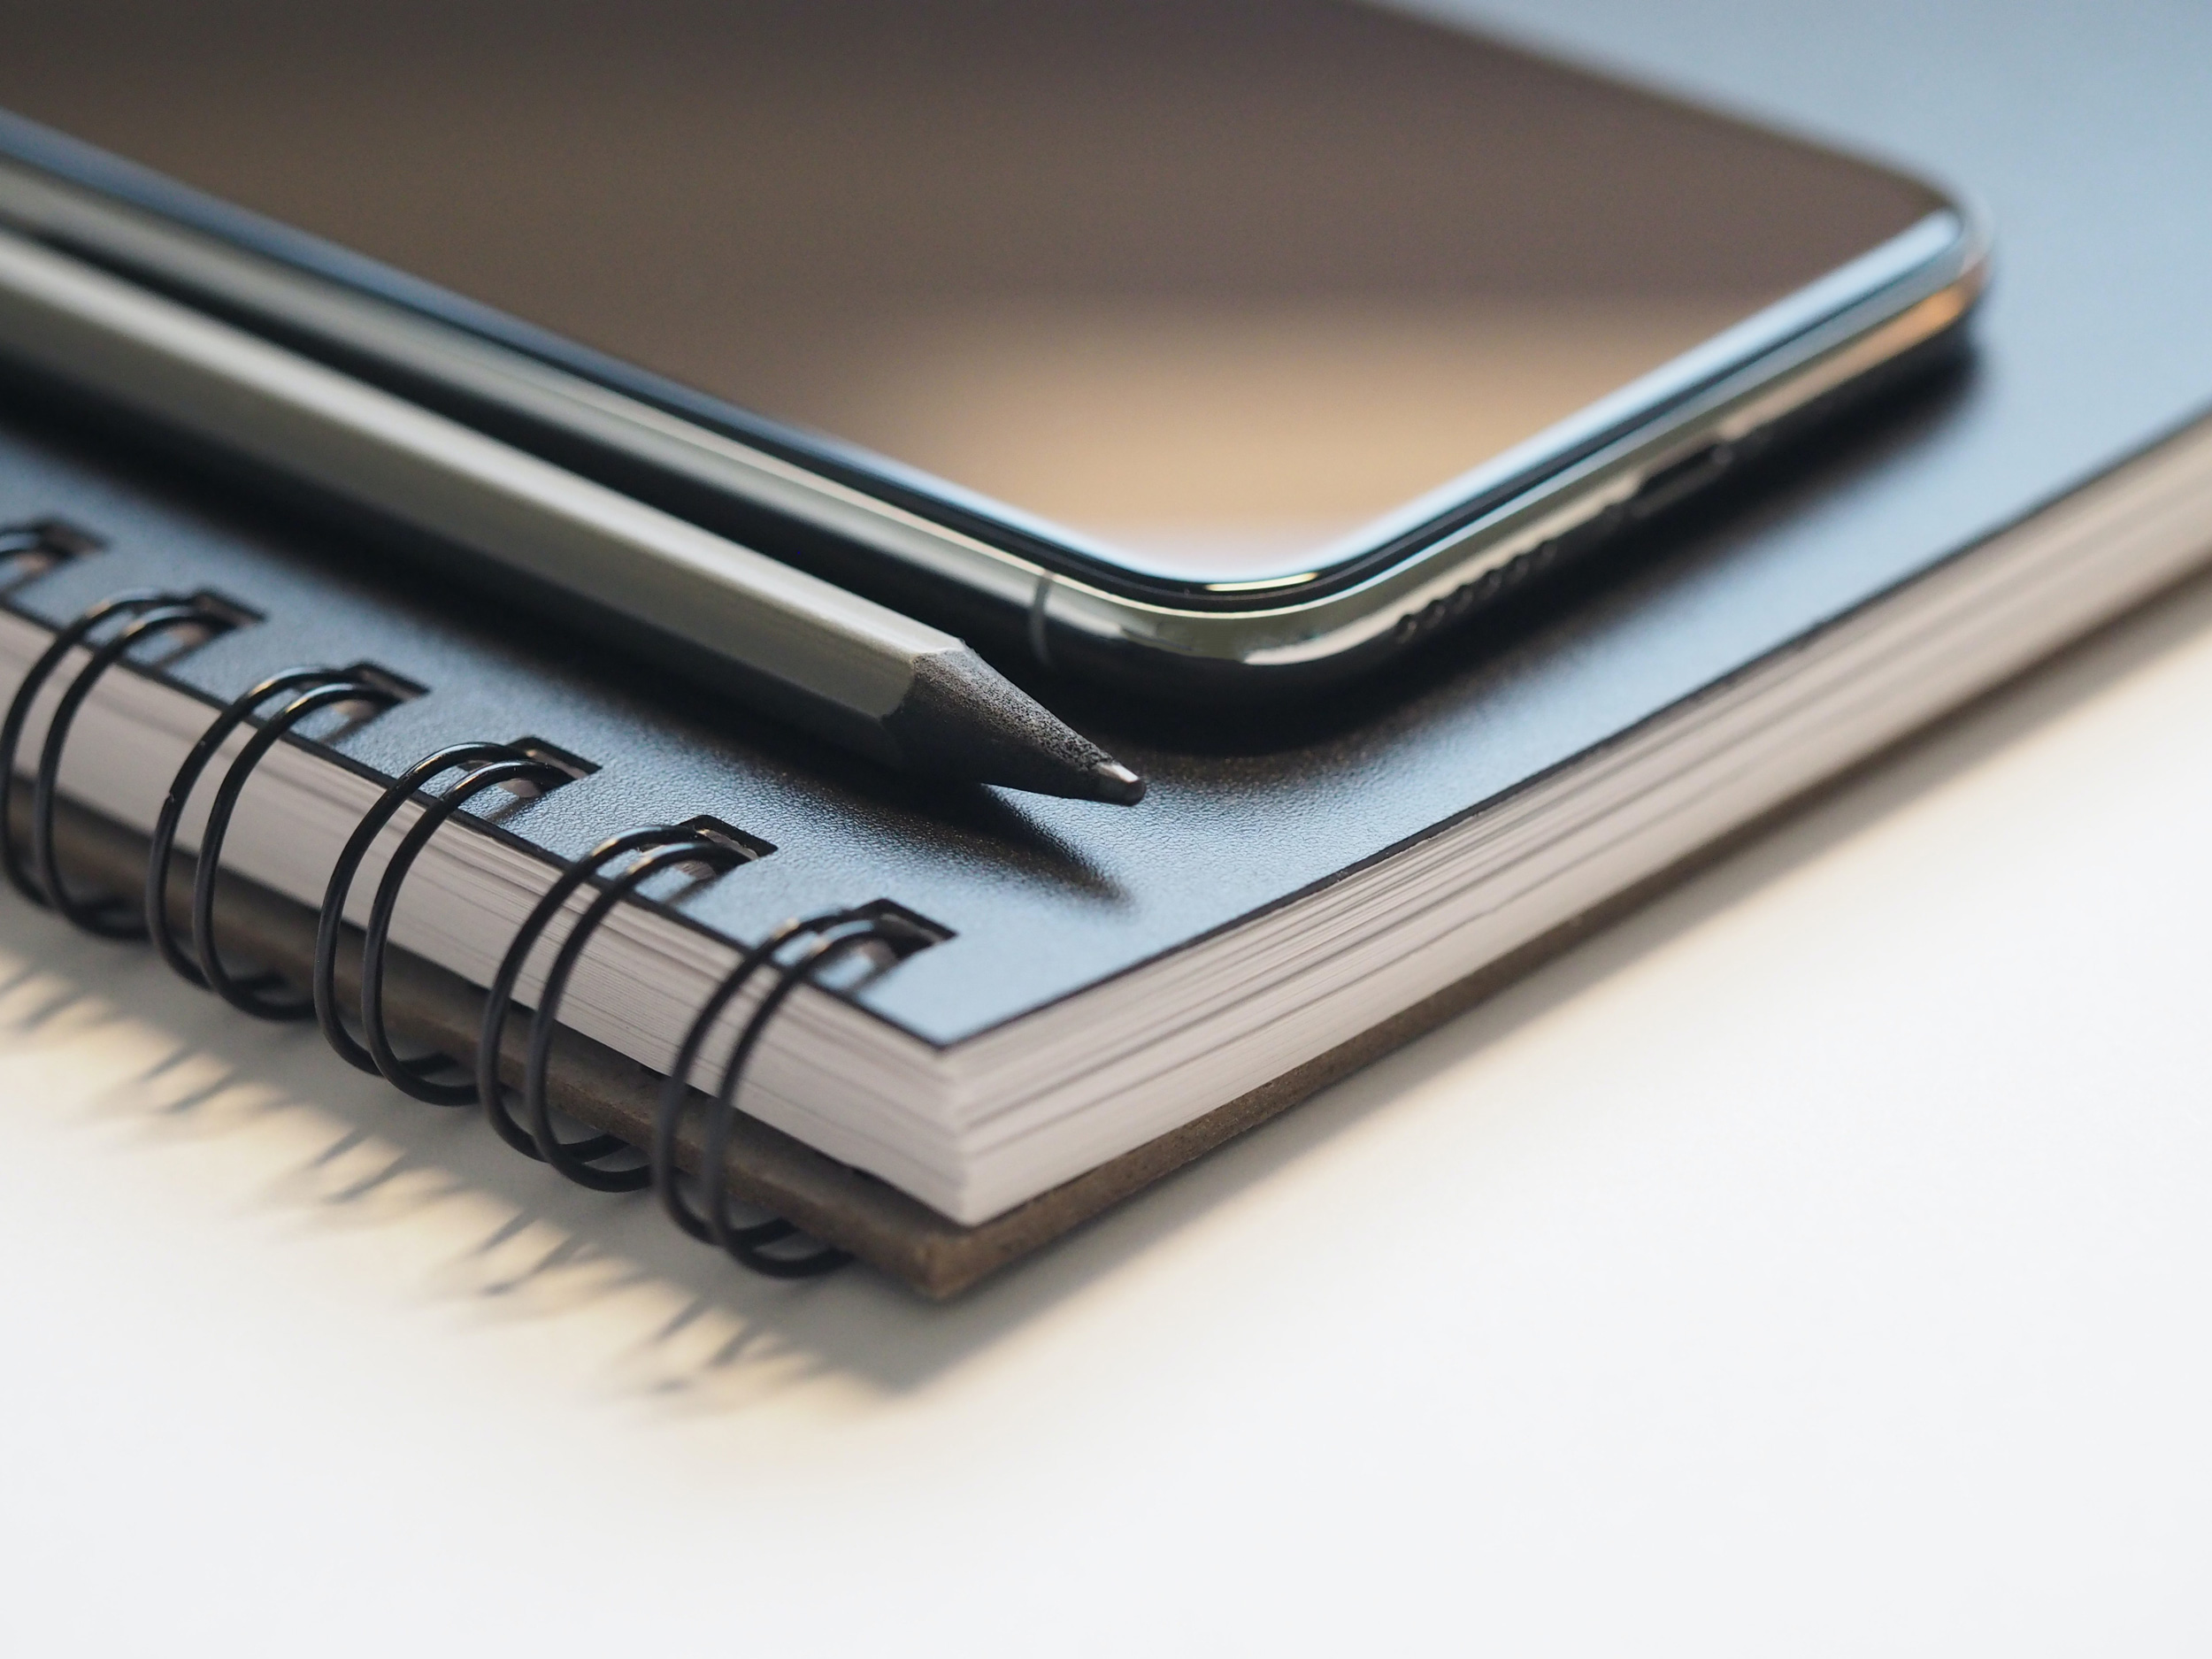
REMOVE LOOSE, DRY PARTICLES
Sensor cleaning can be done automatically by a built-in cleaner that’s a function in most DSLRs, but you may find yourself needing a more thorough cleaning from time-to-time to remove stubborn particles (e.g. dust and lint). Since these particles are commonly abrasive, it is important to remove them first before moving onto any type of wipe or solution. With one hand, hold your camera (in manual sensor cleaning mode) with it positioned face-down. Then with the other, grab the blower included in your Delkin SensorScope Travel Kit. Place the nozzle of the blower into the sensor chamber (don’t touch the sensor though) and pump bursts of air onto the affected areas of the sensor until the particles have been removed (Note: Make sure particles are no longer in the sensor chamber).

REMOVE STICKY OR ADHERED-ON SMUDGES & CONTAMINANTS
Since the mirror is a big mechanical component that needs to be properly lubricated to take pictures, sometimes extra lubricant can end up on the sensor’s surface. Other types of “sticky” debris could also include pollen, condensation from humid shooting environments or big temperature changes, and even saliva. In these cases, a wet chemical compound is needed to break-up the adhesion. Delkin’s SensorSolution® is scientifically engineered to safely break down stains, oils and chemically bonded debris when used in conjunction with SensorSafe® Wands (available in 16mm & 24mm sizes). Simply take one SensorSafe® wand (depending on your camera sensor’s size), then pour two drops of SensorSolution® onto one end of the wand. At an angle, slide the wand across the sensor’s surface. Flip the wand over to use the dry end and slide it back across the sensor. Repeat with another wand if the substance remains.
FINAL INSPECTION
Take the SensorScope inspection device and do one final look to make sure your sensor is clean. If everything is good, power down your camera (this will release the mirror lock-up for DSLRs), reattach your lens, and head out to your shoot!
WHERE TO BUY: