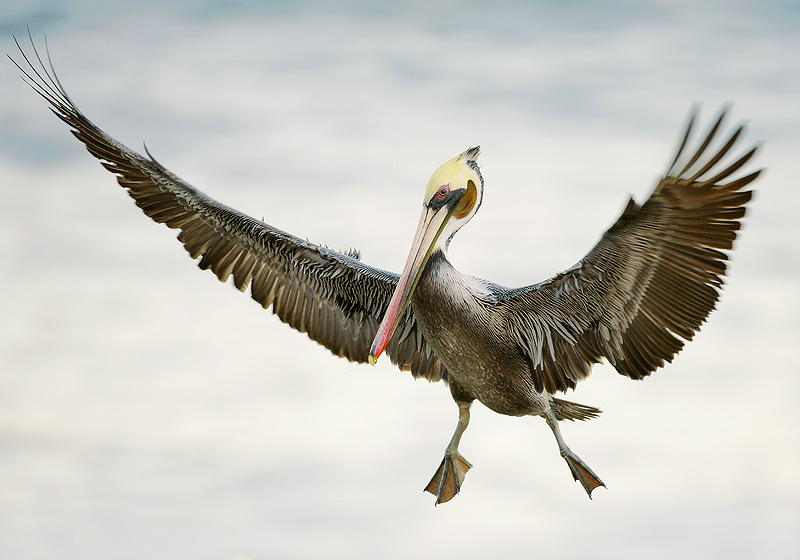
Brown Pelican Landing – La Jolla


Arthur Morris is a freelance nature photographer and writer specializing in birds. He is widely recognized as the world’s premier bird photographer and one of the top nature photography educators of his time. More than 20,000 of Arthur’s images have been published worldwide. He is also a founding member of the North American Nature Photography Association (NANPA).


For more information on Arthur, as well as the opportunity to personally learn from him, please check out his website at www.BIRDSASART.com.


Subscribe

  • This field is for validation purposes and should be left unchanged.

Lightning & Monsoon Workshop- Ken Sklute


Delkin ImageMaker Ken Sklute is king of the storm shot! His ability to chase and then capture a storm at it’s most aggressive and graceful moments is unparalleled. Learn from the Canon Explorer of Light yourself at his upcoming Lightning & Monsoon Workshop, coming up in July. http://serendipityvisuals.com/portfolios/lightning-monsoon-workshop/


Subscribe

  • This field is for validation purposes and should be left unchanged.

How David Carlson Got the Shot: Oracle over Oshkosh
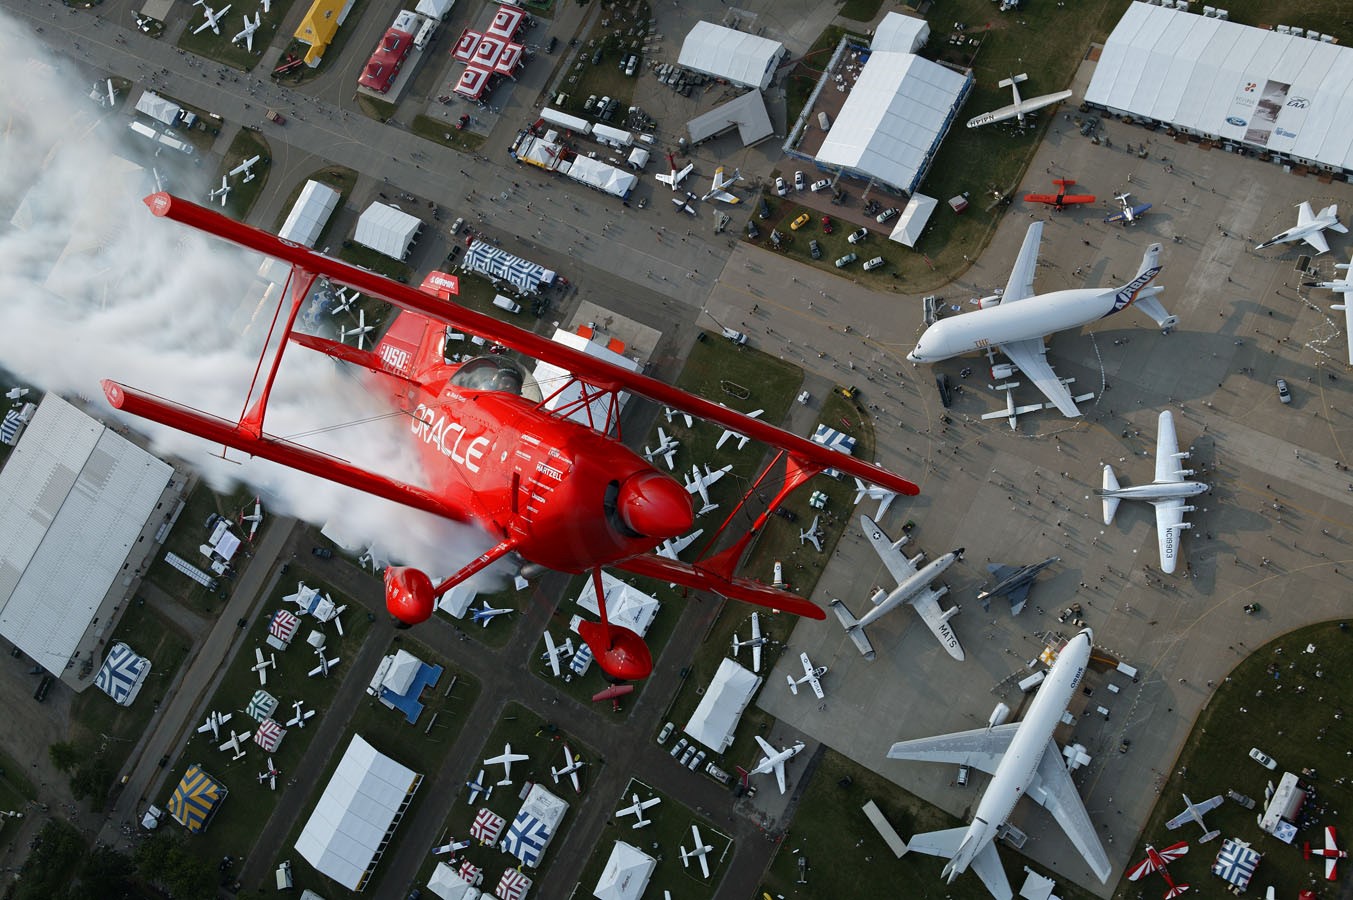
Safety is the number one rule when doing Air to Air photography. This shot was not made by accident. When we visualized what the shot would look like, the planning began.

This shot was made over the Oshkosh airshow. The image took coordinating with a number of people to create it. We were flying in the photo plane so there was that pilot and a safety observer in that plane. There was Sean D. Tucker flying the Oracle plane. Because it was immediately after the airshow completed, we had to coordinate with the Air Boss who also had to coordinate with the FAA controllers.

After coordinating with all of the different people we discussed in detail what the shot was, angles, SAFETY, background, SAFETY, positions, SAFETY and post shot. Do you see a common theme there?

Once we got airborne, everything almost was second nature as we all had prepared for and planned for everything that we could think of. All of the planning was critical because the entire time of the shoot was maybe about 10 seconds. When you are flying at 125 mph or more, it does not take long to fly over your background. Fortunately, everything worked as planned and this image is the result.

Image Courtesy of:
David Carlson
dcarlsonphoto@gmail.com

Subscribe

  • This field is for validation purposes and should be left unchanged.

How Rick Sammon Got the Shot: Carnavale Models on a Canal
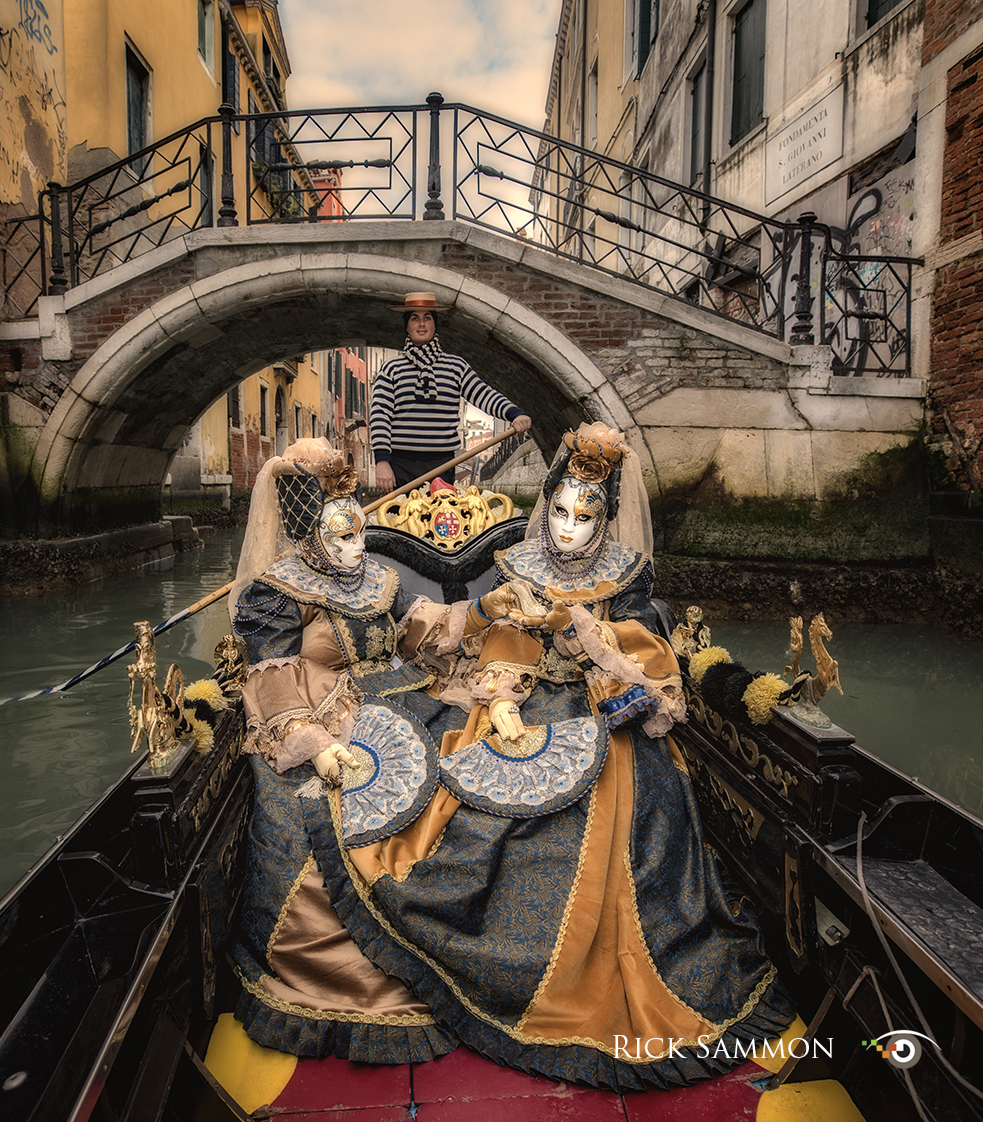
Photo Credit: Rick Sammon

This photograph is the result of creative visualization – seeing the end-result in my mind’s eye before I took the shot.

Before getting in the gondola, I selected the background while standing on a nearby bridge. Once I was in the gondola, I asked the models to strike a pose, and I asked the gondola driver not to look at my camera. Due to the contrast range, I knew I had to use daylight fill-in flash to create a natural-looking image. Once the driver got me into the desired position, I took my shot.

I fine-tuned my image for the photograph I envisioned by using the highlight and shadow controls in Lightroom,

Using creative visualization will help you get a higher percentage of keepers, for sure.

Get more tips from Delkin Devices Image Maker Rick Sammon through his web site: www.ricksammon.com.

Cormorant Fishermen, Remote China- Rick Sammon,

How Rick Sammon Got the Shot: Cormorant Fishermen, Remote China
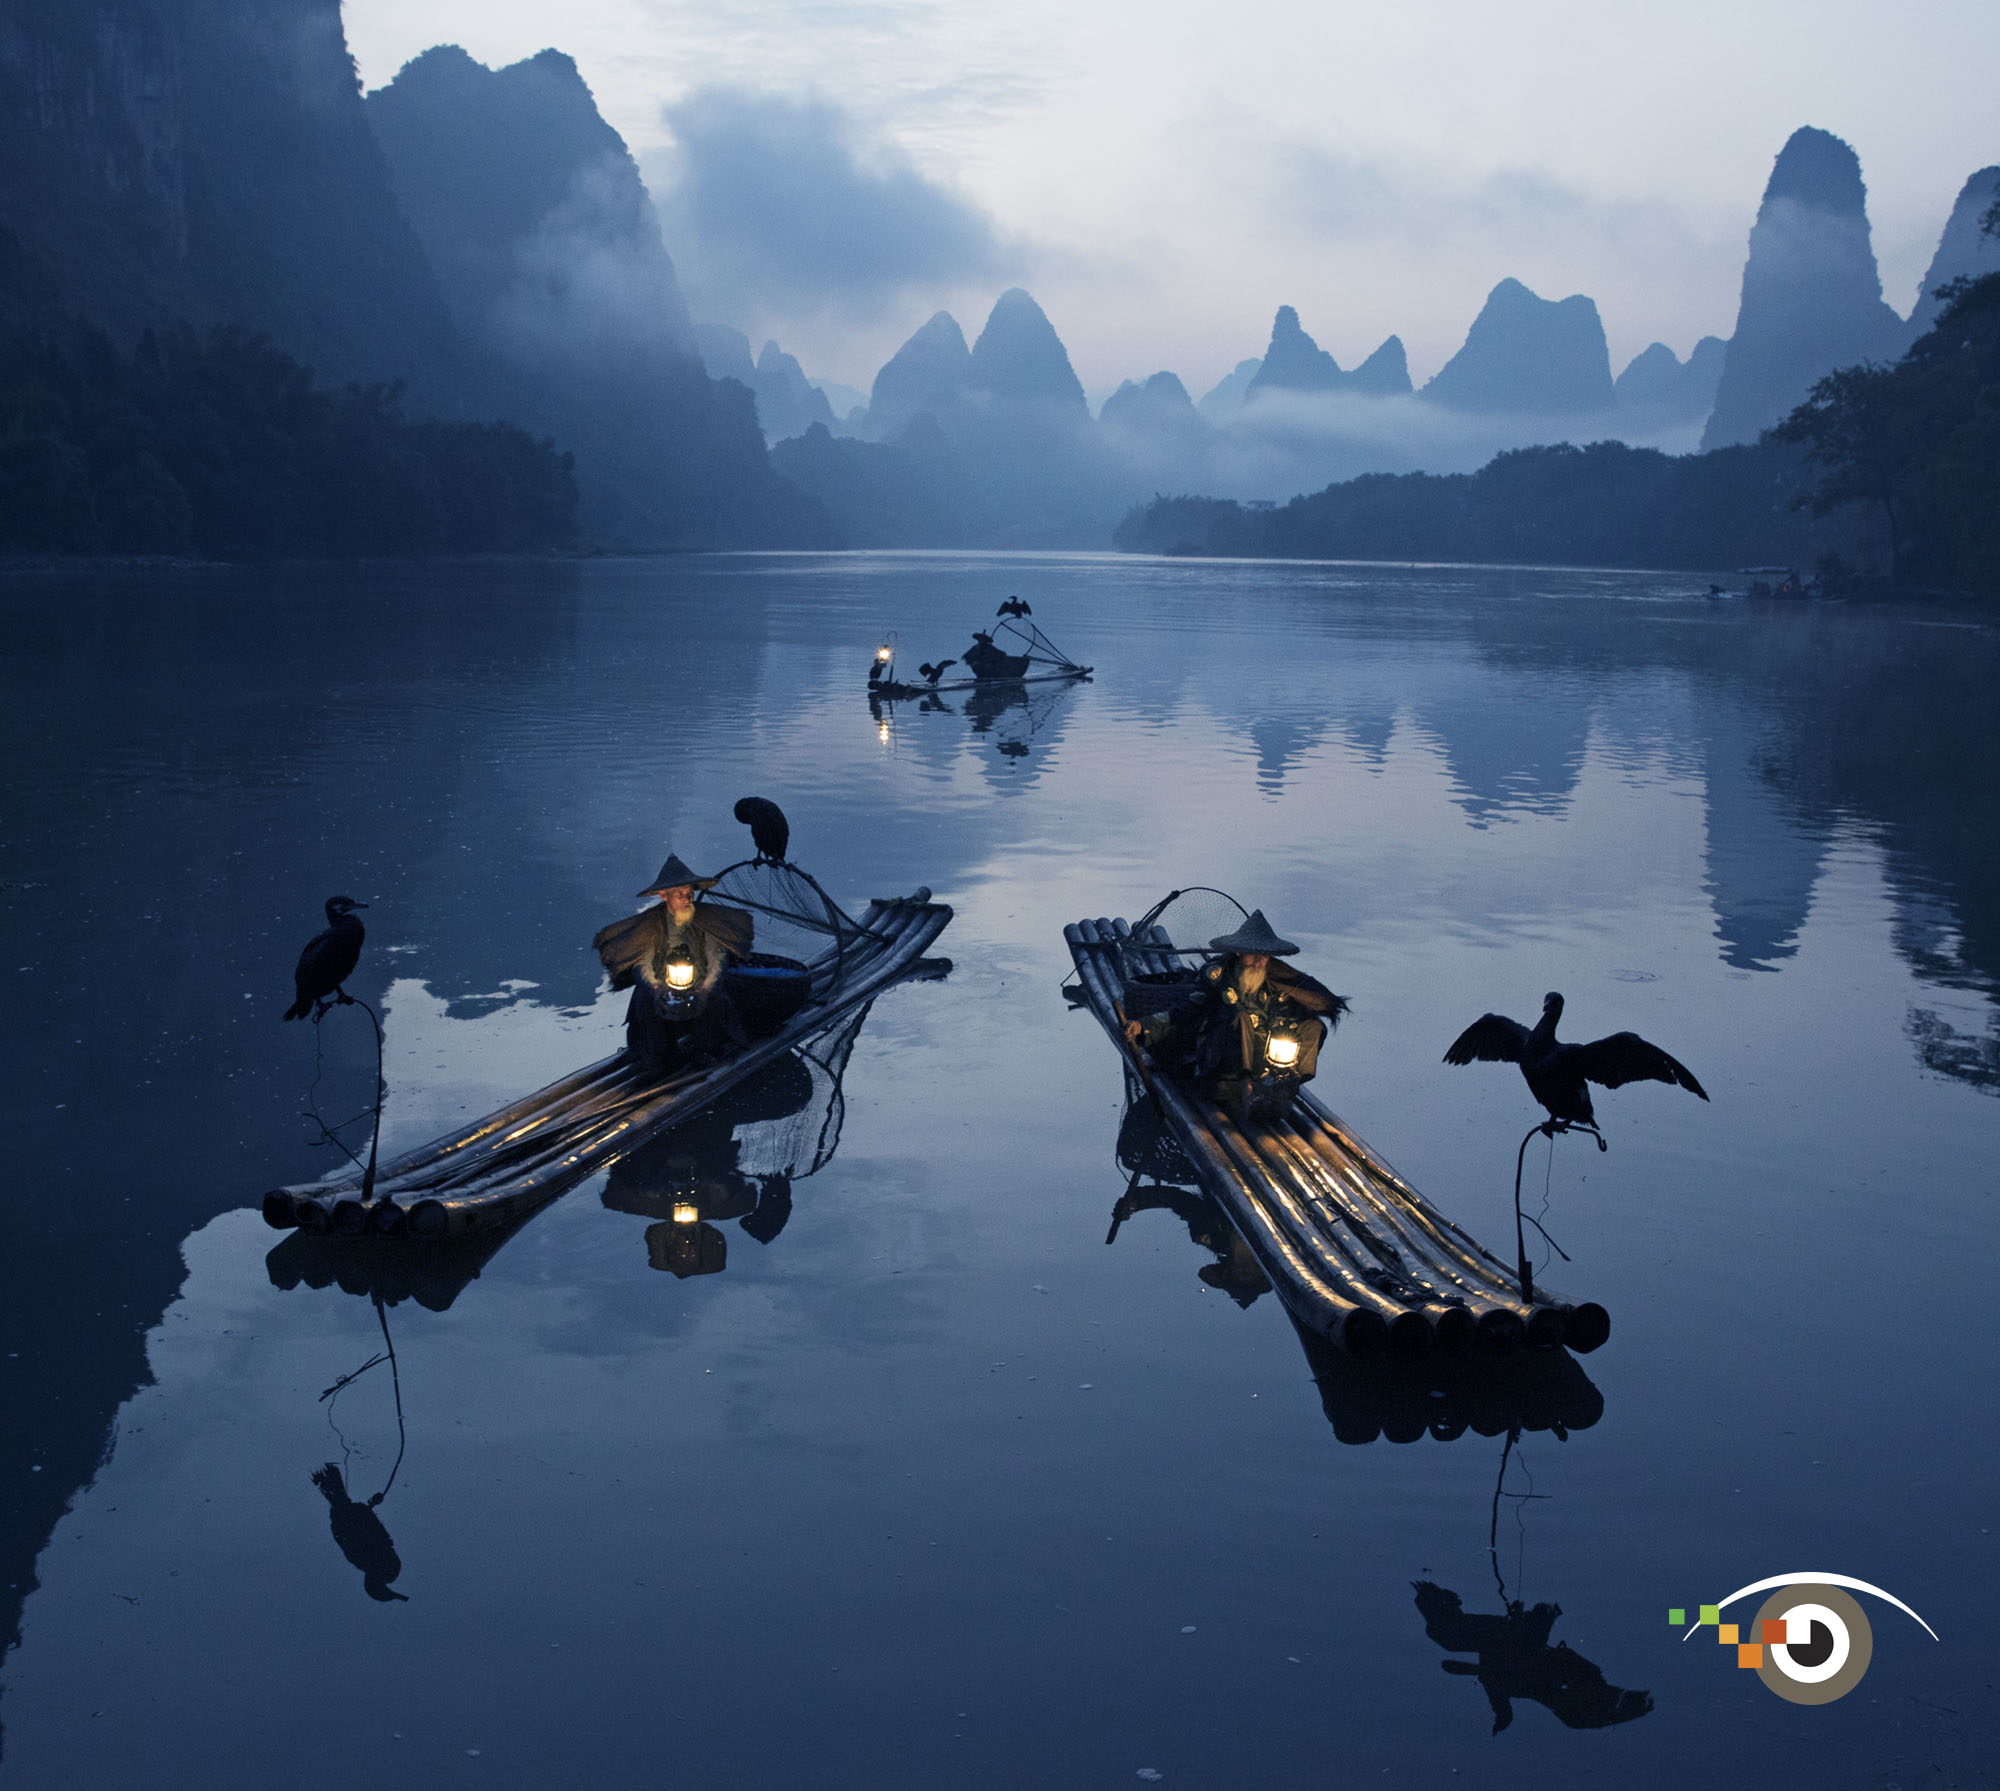
Photo Credit: Rick Sammon

Cormorant Fishermen, Remote China- Rick Sammon,

This is one of my favorite photographs I took during a workshop I co-lead to remote China with my friend Ken Koskela, and organized by two more friends Andy and Mia Beals.

When I talk about my photograph, I really can only take part of the credit. Andy and Mia are friends with the cormorant fishermen and have worked with them numerous times setting up similar shots for photographers in this picturesque location on the Li River. Andy and Mia arranged to have the fishermen on site before sunrise. When the fishermen arrived, I directed them into position, looking for separation and trying to get them to form a triangle – to lead the viewer into the scene.

Shooting with a wide-angle setting (26mm on Canon 24-70mm lens), using a medium aperture (f/6.3) and focusing 1/3 into the scene allowed me to get everything in the scene in focus. – just as it looked to my eyes.

This is pretty much a straight shot, with just a bit of Levels adjustment to make the scene a bit brighter – as well a tighter crop.

Yes, I took the photograph, but it was a team effort. The main message here: Give credit where credit is due.

Get more tips from Delkin Devices Image Maker Rick Sammon through his web site: www.ricksammon.com.

Christina Tan- Venice

Venice Italy – Photography by Christina Tan
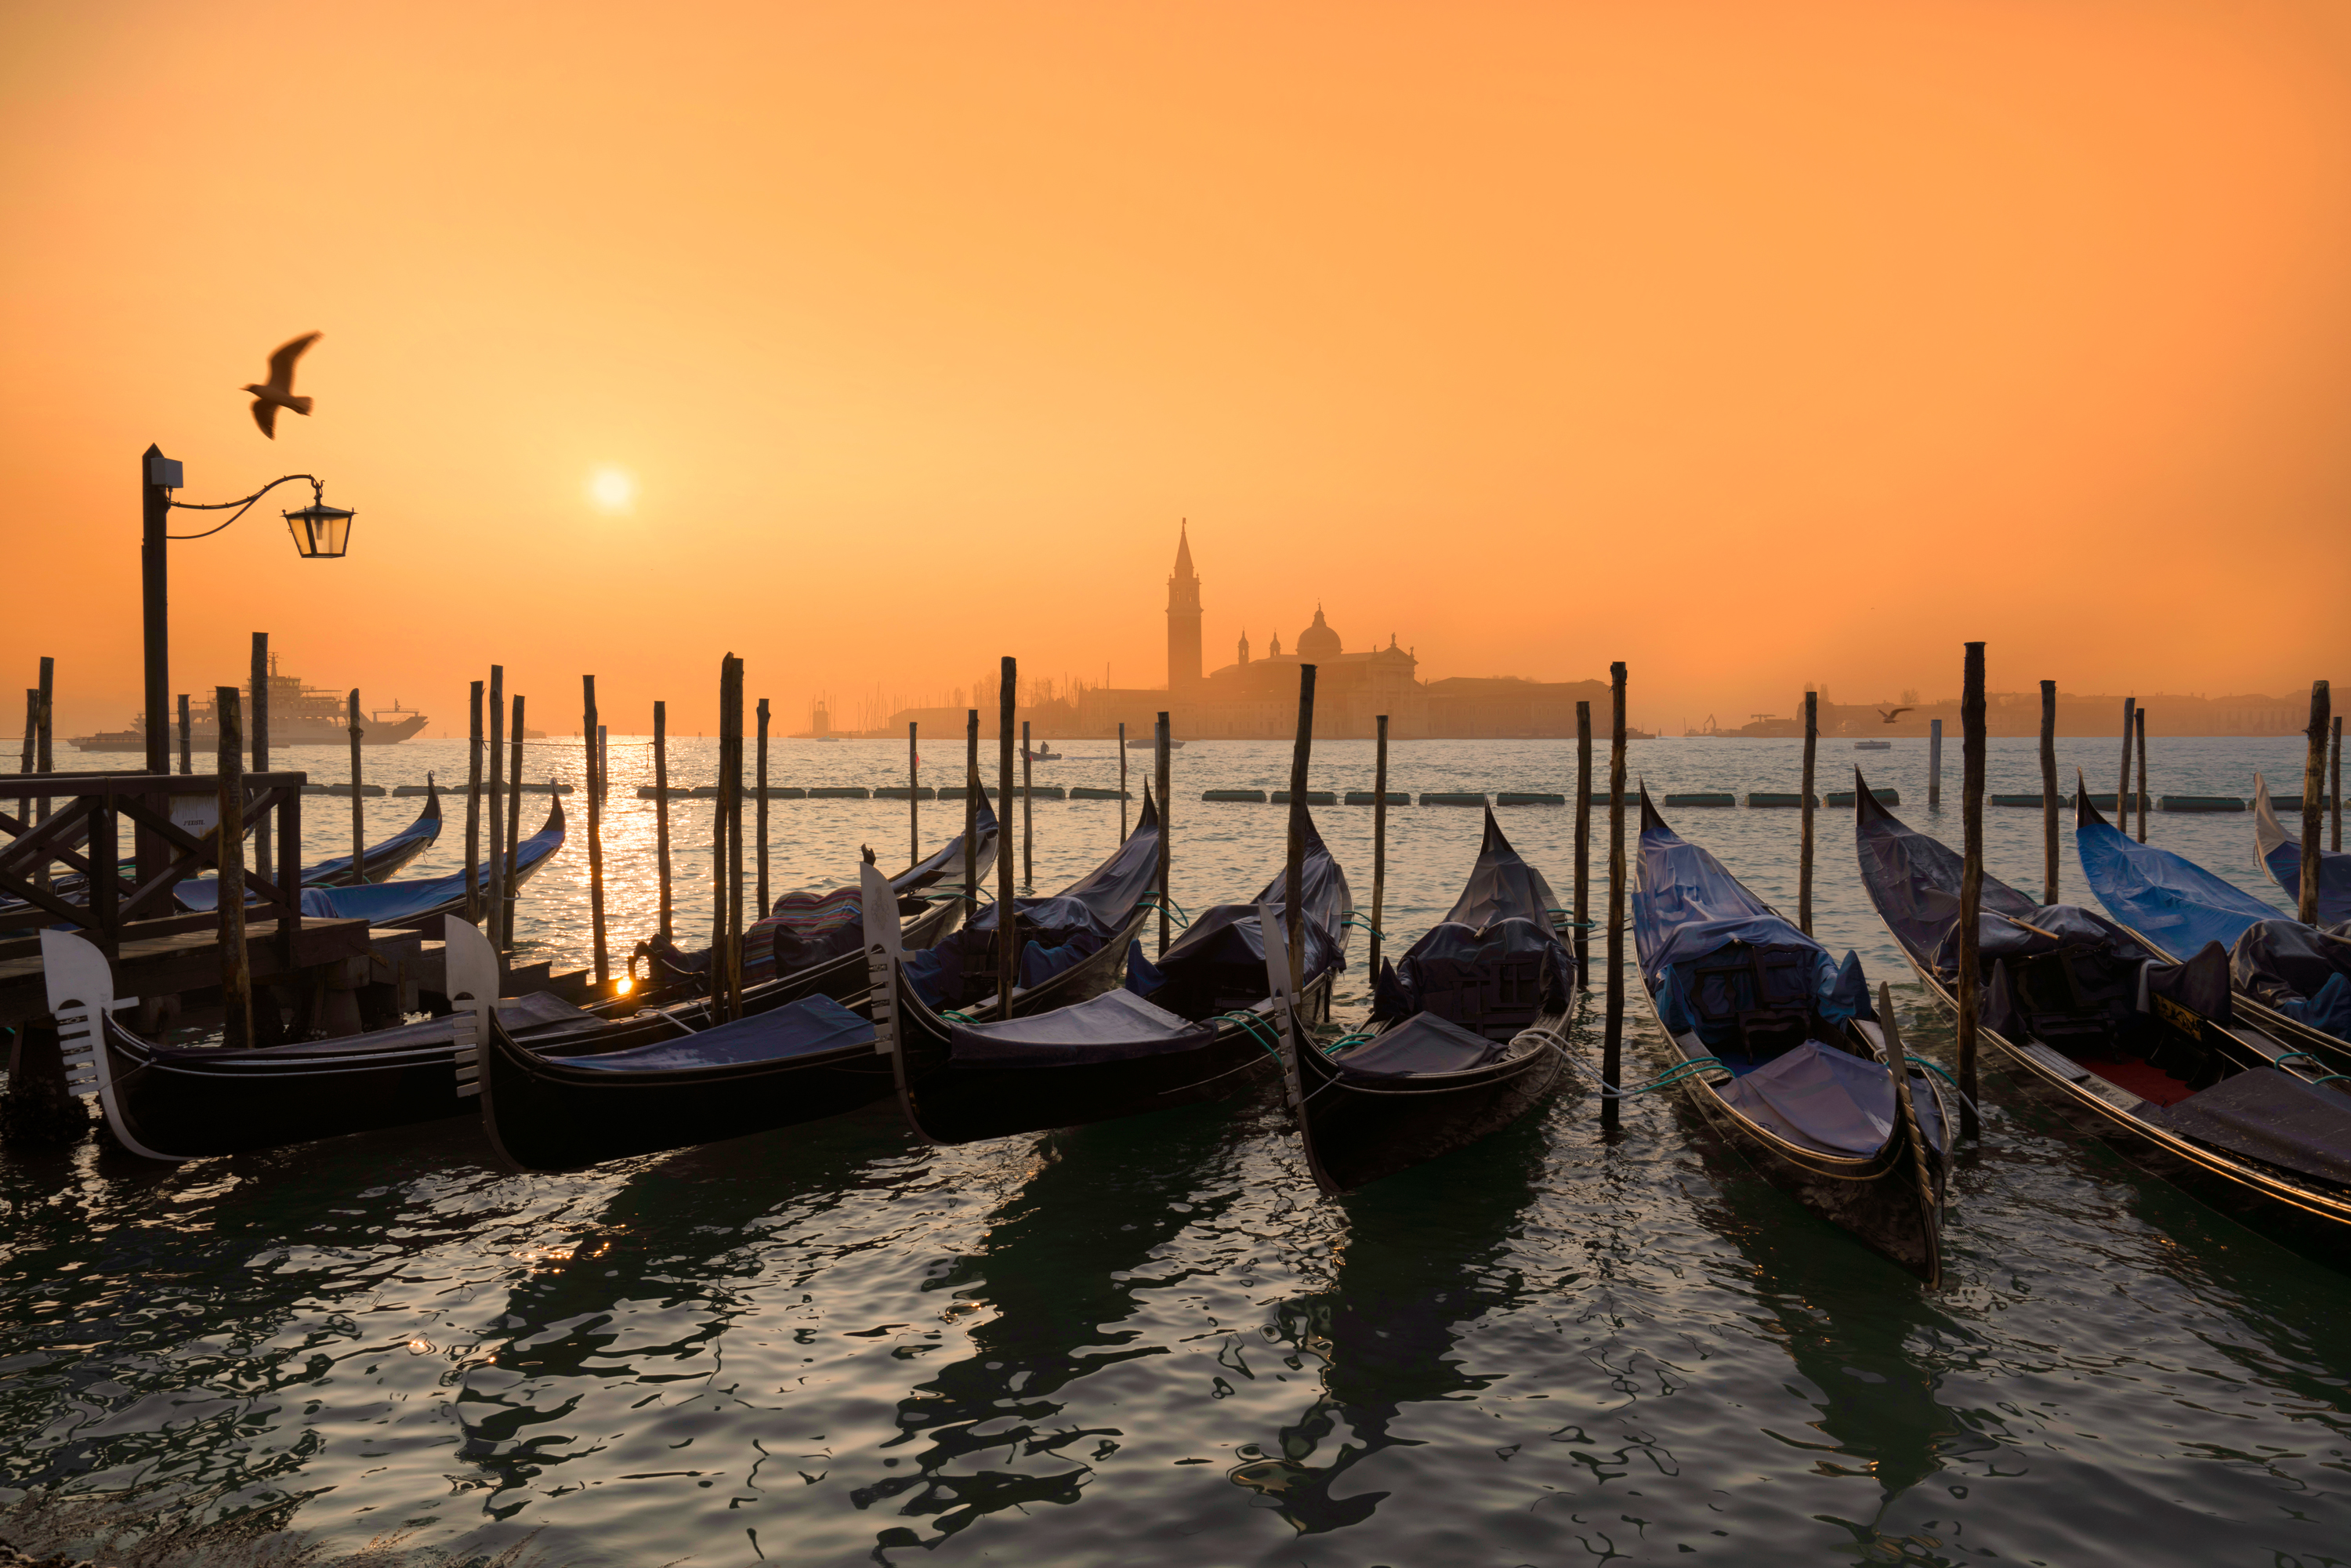
Photo Credit: Christina Tan, Luxury Travel Photographer & Delkin ImageMaker

Christina Tan travels the world doing professional commercial photography work. On assignment in Italy she captured this stunning image of Venice with the sun low in the sky. Christina Tan is an Indonesia based photographer who specializes in global Travel Photography and is a Delkin Devices Image Maker. 

Christina Tan- Venice

Delkin Devices Image Maker- Rick Sammon- My One Picture Promise

How Rick Sammon Got The Shot- My One Picture Promise
How I Got the Shot – My One Picture Promise

Rick Sammon

www.ricksammon.com

I promise you . . . If you think about the one picture you’d take in a particular situation – think about the one best exposure, the one best composition, the one best lens to use, the one best combination of camera settings – I promise you, you will get a higher percentage of “keepers.”

My promise works for my photo workshop students and I am sure it will work for you – because it forces you to be a little more thoughtful and careful before you press the shutter release button.

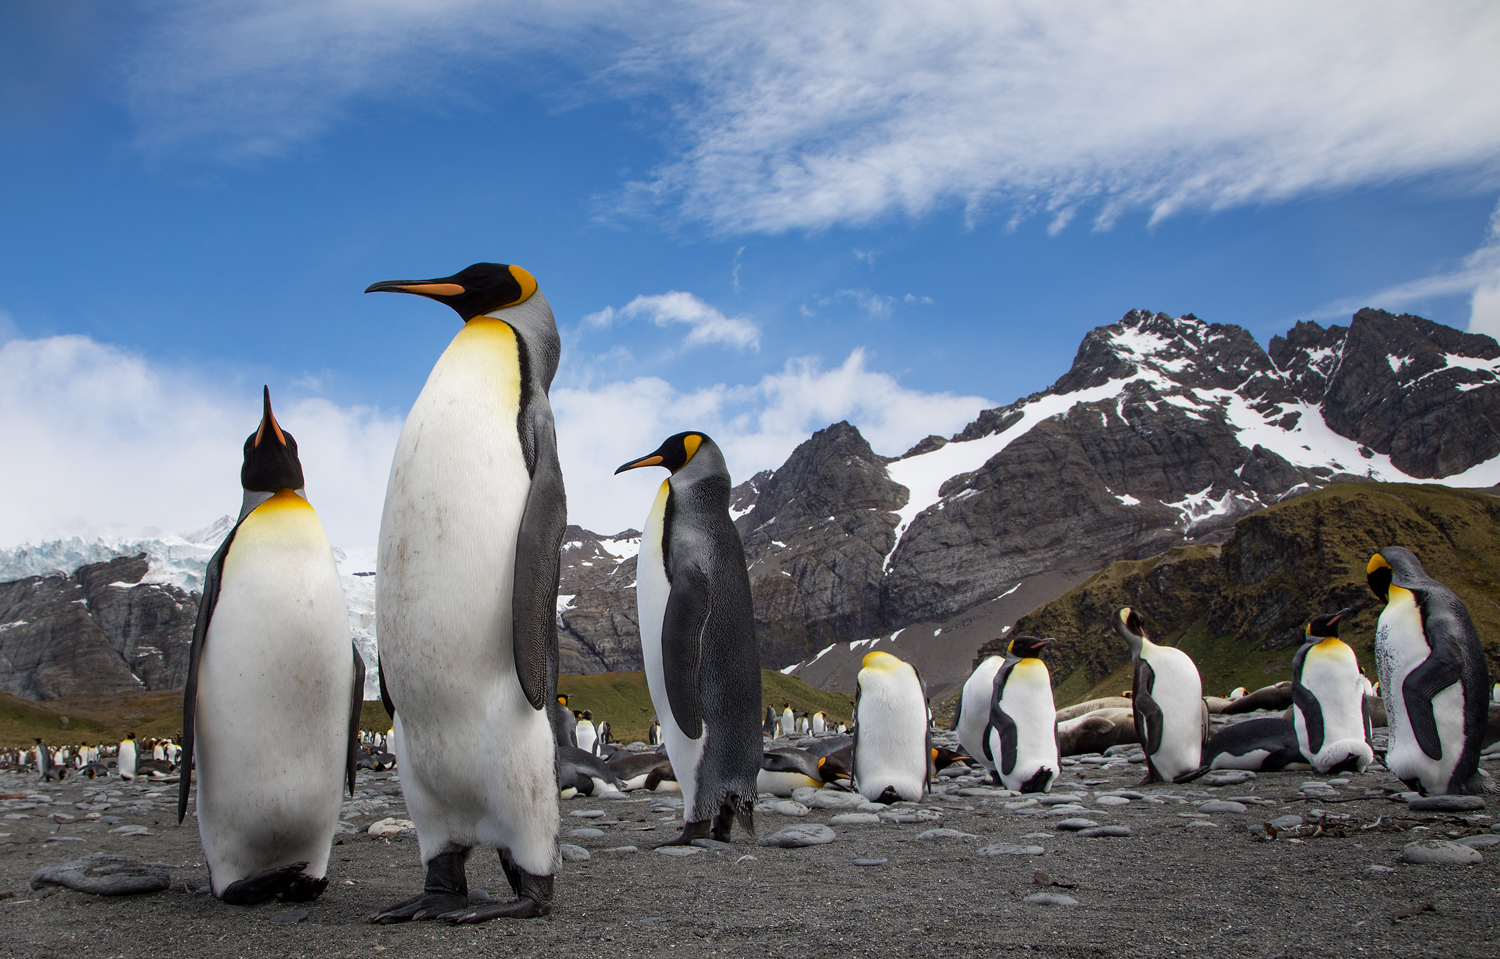
This king penguins images is my favorite photograph from South Georgia Island, which is relatively close to Antarctica.

Here is why I like the photograph, which I took while I was lying on my belly in penguin poop, and the reasons why I feel as though it was the best photograph to take in this situation:

  • The image tells an environmental story, as opposed to a close-up shot that tells more of a story about the animals.
  • The entire image is properly exposed – achieved by shooting a RAW file and then by slightly adjusting the highlights and shadows in Adobe Camera RAW.
  • The penguins’ heads are framed in the sky and are separated from the background. In composition, separation is extremely important.
  • The three penguins are placed off-center for creative composition.
  • The three penguins also illustrate one of the rules of composition: the rule of odds.
  • The scene shows the land and clouds in the sky all in focus. That depth-of-field was achieved by using a wide angle setting (24mm on my Canon 24-105mm IS lens), setting a small aperture (f/14) and focusing one-third into the scene. Those settings offer maximum depth-of-field.


Get more tips from Delkin Devices Image Maker Rick Sammon through his web site: www.ricksammon.com.

Delkin Devices Image Maker- How I Got the Shot – Model at Sunrise in Death Valley, California Rick Sammon
How Rick Sammon Got The Shot- Model at Sunrise in Death Valley, California

How I Got the Shot – Model at Sunrise in Death Valley, California

Rick Sammon


Delkin Devices Image Maker- How I Got the Shot – Model at Sunrise in Death Valley, California Rick Sammon


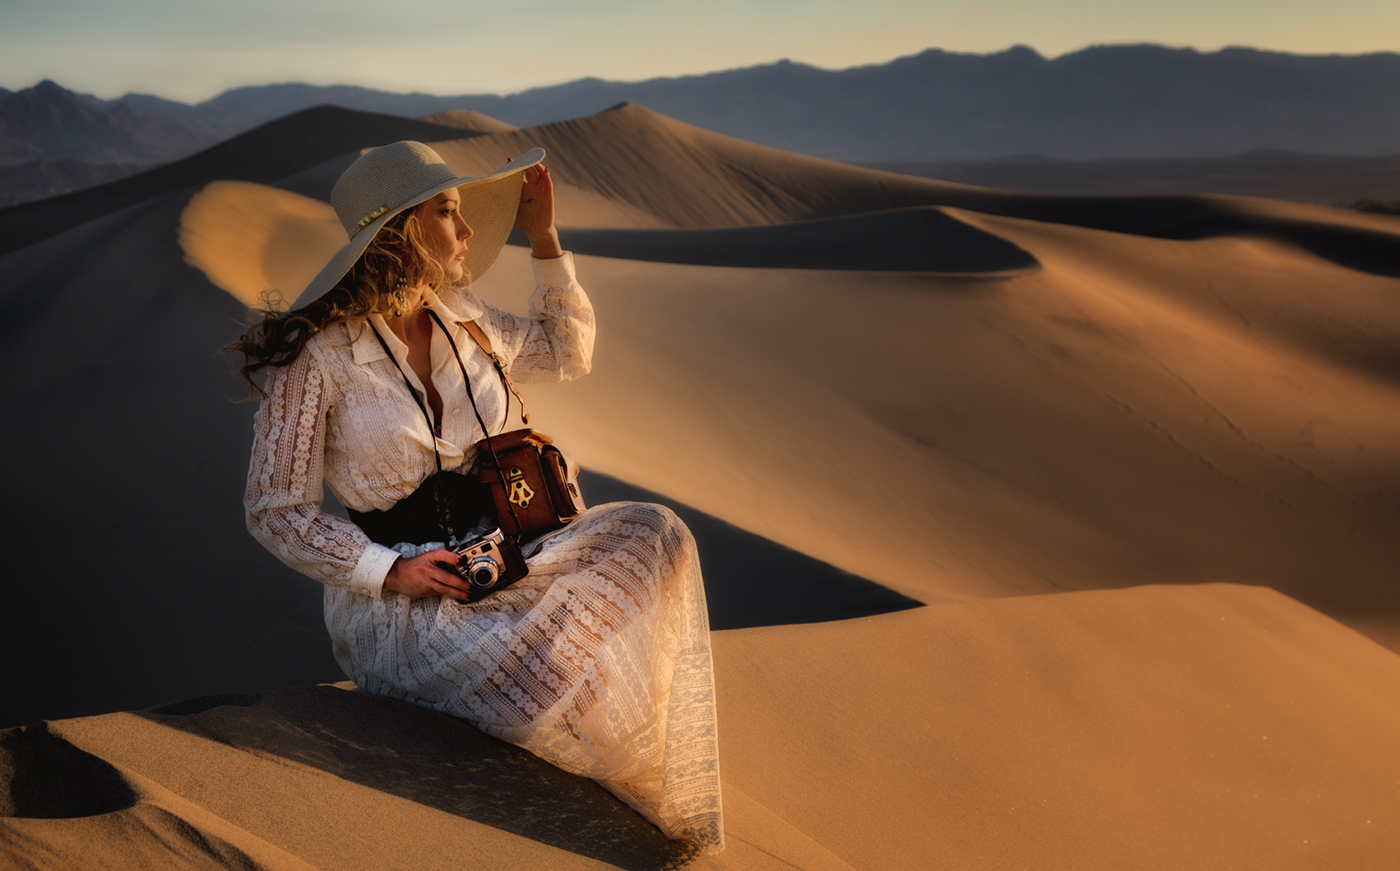
Getting this shot at sunrise was a challenge, but a ton of fun. We got up at 4:30 AM and left our hotel at 5 AM. We arrived at the Mesquite Sand Dunes in Death Valley shortly thereafter and proceeded to walk, guided by our head-mounted flashlights, to the top of the dunes in the dark.

We waited for the sun to peek over the horizon – because we wanted to capture the beautiful dawn light. I directed the model to look toward the light and also directed her pose.

Notice how the light shapes the model’s face. When it comes to portraiture, if you want an interesting subject don’t light the subject’s entire face. I took the photograph with my Canon 5D Mark III and 24-105mm IS lens.


Get more tips from Delkin Devices Image Maker Rick Sammon through his web site: www.ricksammon.com.

How Ken Sklute Got The Shot

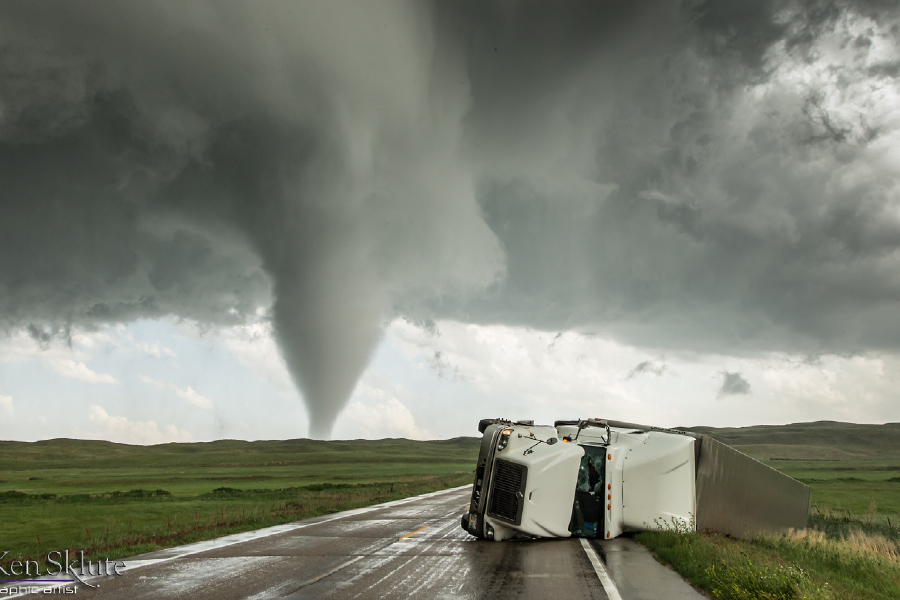
I have photographed many fun and unique subjects in my career, but one of my most favorite subjects to photograph are those that are remarkably challenging to capture: lightning, lava, the Aurora Borealis, tornados, etc.

I currently live in Phoenix, AZ and have been Monsoon chasing for many years now. Monsoons have dust storms, “Haboobs” if they are large enough, and dramatic lightning storms that are magnificently photogenic. Successfully capturing storms isn’t simply a matter of going outside when you hear loud thunderclaps and see the sky light up. Storms roll in, and continue rolling elsewhere once it leaves you. The most difficult, yet most important, part is planning. My planning stages require me to watch the weather both present and forecast. Chasing lightning storms is a technique of watching and understanding trends in weather patterns.

Tornado chasing requires an inordinate amount of decisions to be made, based upon many conditions in the atmosphere. A slight change and nothing may occur. The first decision that we made was to head west from our northeast Nebraska base for the night. We had just completed an exhausting day of chasing and encountered a total of 11 tornados. We also needed to choose between a possible F5 tornado, destroying more of the saturated towns of Nebraska, or head 3 hours west to a rather rural, open, few roads, grazing community near Mullen. After a few minutes of discussion, we elected to avoid the possible devastation and drive towards the beauty; it wasn’t a hard decision to make.

The drive was amazing. We drained a full tank of gas as we drove through mist, then thicker mist and finally into what looked like a dense fog, all not conducive for tornadic structure. We watched as the lead storm went up and quickly collapsed. We then headed towards the southern storm that was 45 miles ahead of us and closing in quickly on the lone southern direction road. Ahead in the distance, we watched as the cone formed and soon made contact with the ground. Knowing how briefly a tornado may live, we stopped to grab a quick image and then drove closer!

As we blasted down the road, I recognized something in our lane several miles away; it was unclear what it was from where we were. As we got closer, I could see that it was an overturned 18-wheeler; we sped even faster now. First on the scene, we ran to the flipped rig. Once we got to it, we witnessed the driver, in a cool and unflustered manner, kick his way through the shattered windshield. We offered help, but he was calmly in control of the situation. Meanwhile the storm was in motion and moving away from us. We got back into the car and watched the funnel nearly rope out and then descend again right in front of us, all while golf ball sized hail started pummeling us and then the car. The impact was deafening and luckily our windows remained unbroken. We were now at the foot of the funnel, witnessing it receding back into the cloud.

At this point my buddy looks over to me and asks, “How do you feel about blasting underneath the storm in order to get ahead of it? It’s pretty dangerous.”

With my face pressed up against the windshield, I watched as the clouds churned. Finally after a few long seconds, I responded, “Let’s go for it!”

Jeremy’s foot immediately went to the floor as we accelerated to the SUV’s maximum. I maintained a close watch on the sky with my face pressed against the windshield for total vision of the clouds above us. After journeying down the road for several miles, we finally reached a safe zone. The cone was now behind us.

After studying the road system, it became clear that we needed to drive an hour or so south and then east in order to intercept the Super cell again. We were just hoping that the cell would have enough stamina to last and make it to the crossroads, which we determined was the best area to capture it from. We would also have escape routes in all directions, just in case the storm changed direction. Storms can either strengthen, weaken or remain the same strength. They also continue to move across the ground, sometimes on a continuous path or other times changing direction dramatically. You always need to keep an eye on what the storm is doing in order to maintain a safe position, as well as do your best to keep a specific area of the storm visible, which often means shifting locations from a few feet to miles away.

Once the rotating wall arrived from the northeast, we were ready for the encounter. I have to say, we were not disappointed; it was simply beautiful. We were facing westward, looking right into the setting sun as the approaching tornado spun and belched cloud to ground lightning. We were thrilled, as it seemed that the twister had lost its forward momentum, sitting in front of us for an hour. As I had two cameras firing, capturing unique cloud to ground lightning in every configuration, I could not imagine this scenario in front of me. I had captured a majestic spinning super cell producing a tornado that was framed by a gorgeous cloud to ground lightning bolt.

The series of images were captured using a Canon 5D Mark III and Canon 1DX, both with 14mm f/2.8 lenses, mounted on ReallyRightStuff BH-55 ball heads. Images were safely written to Delkin Devices 64GB CF 1050X UDMA 7 Cinema memory cards.

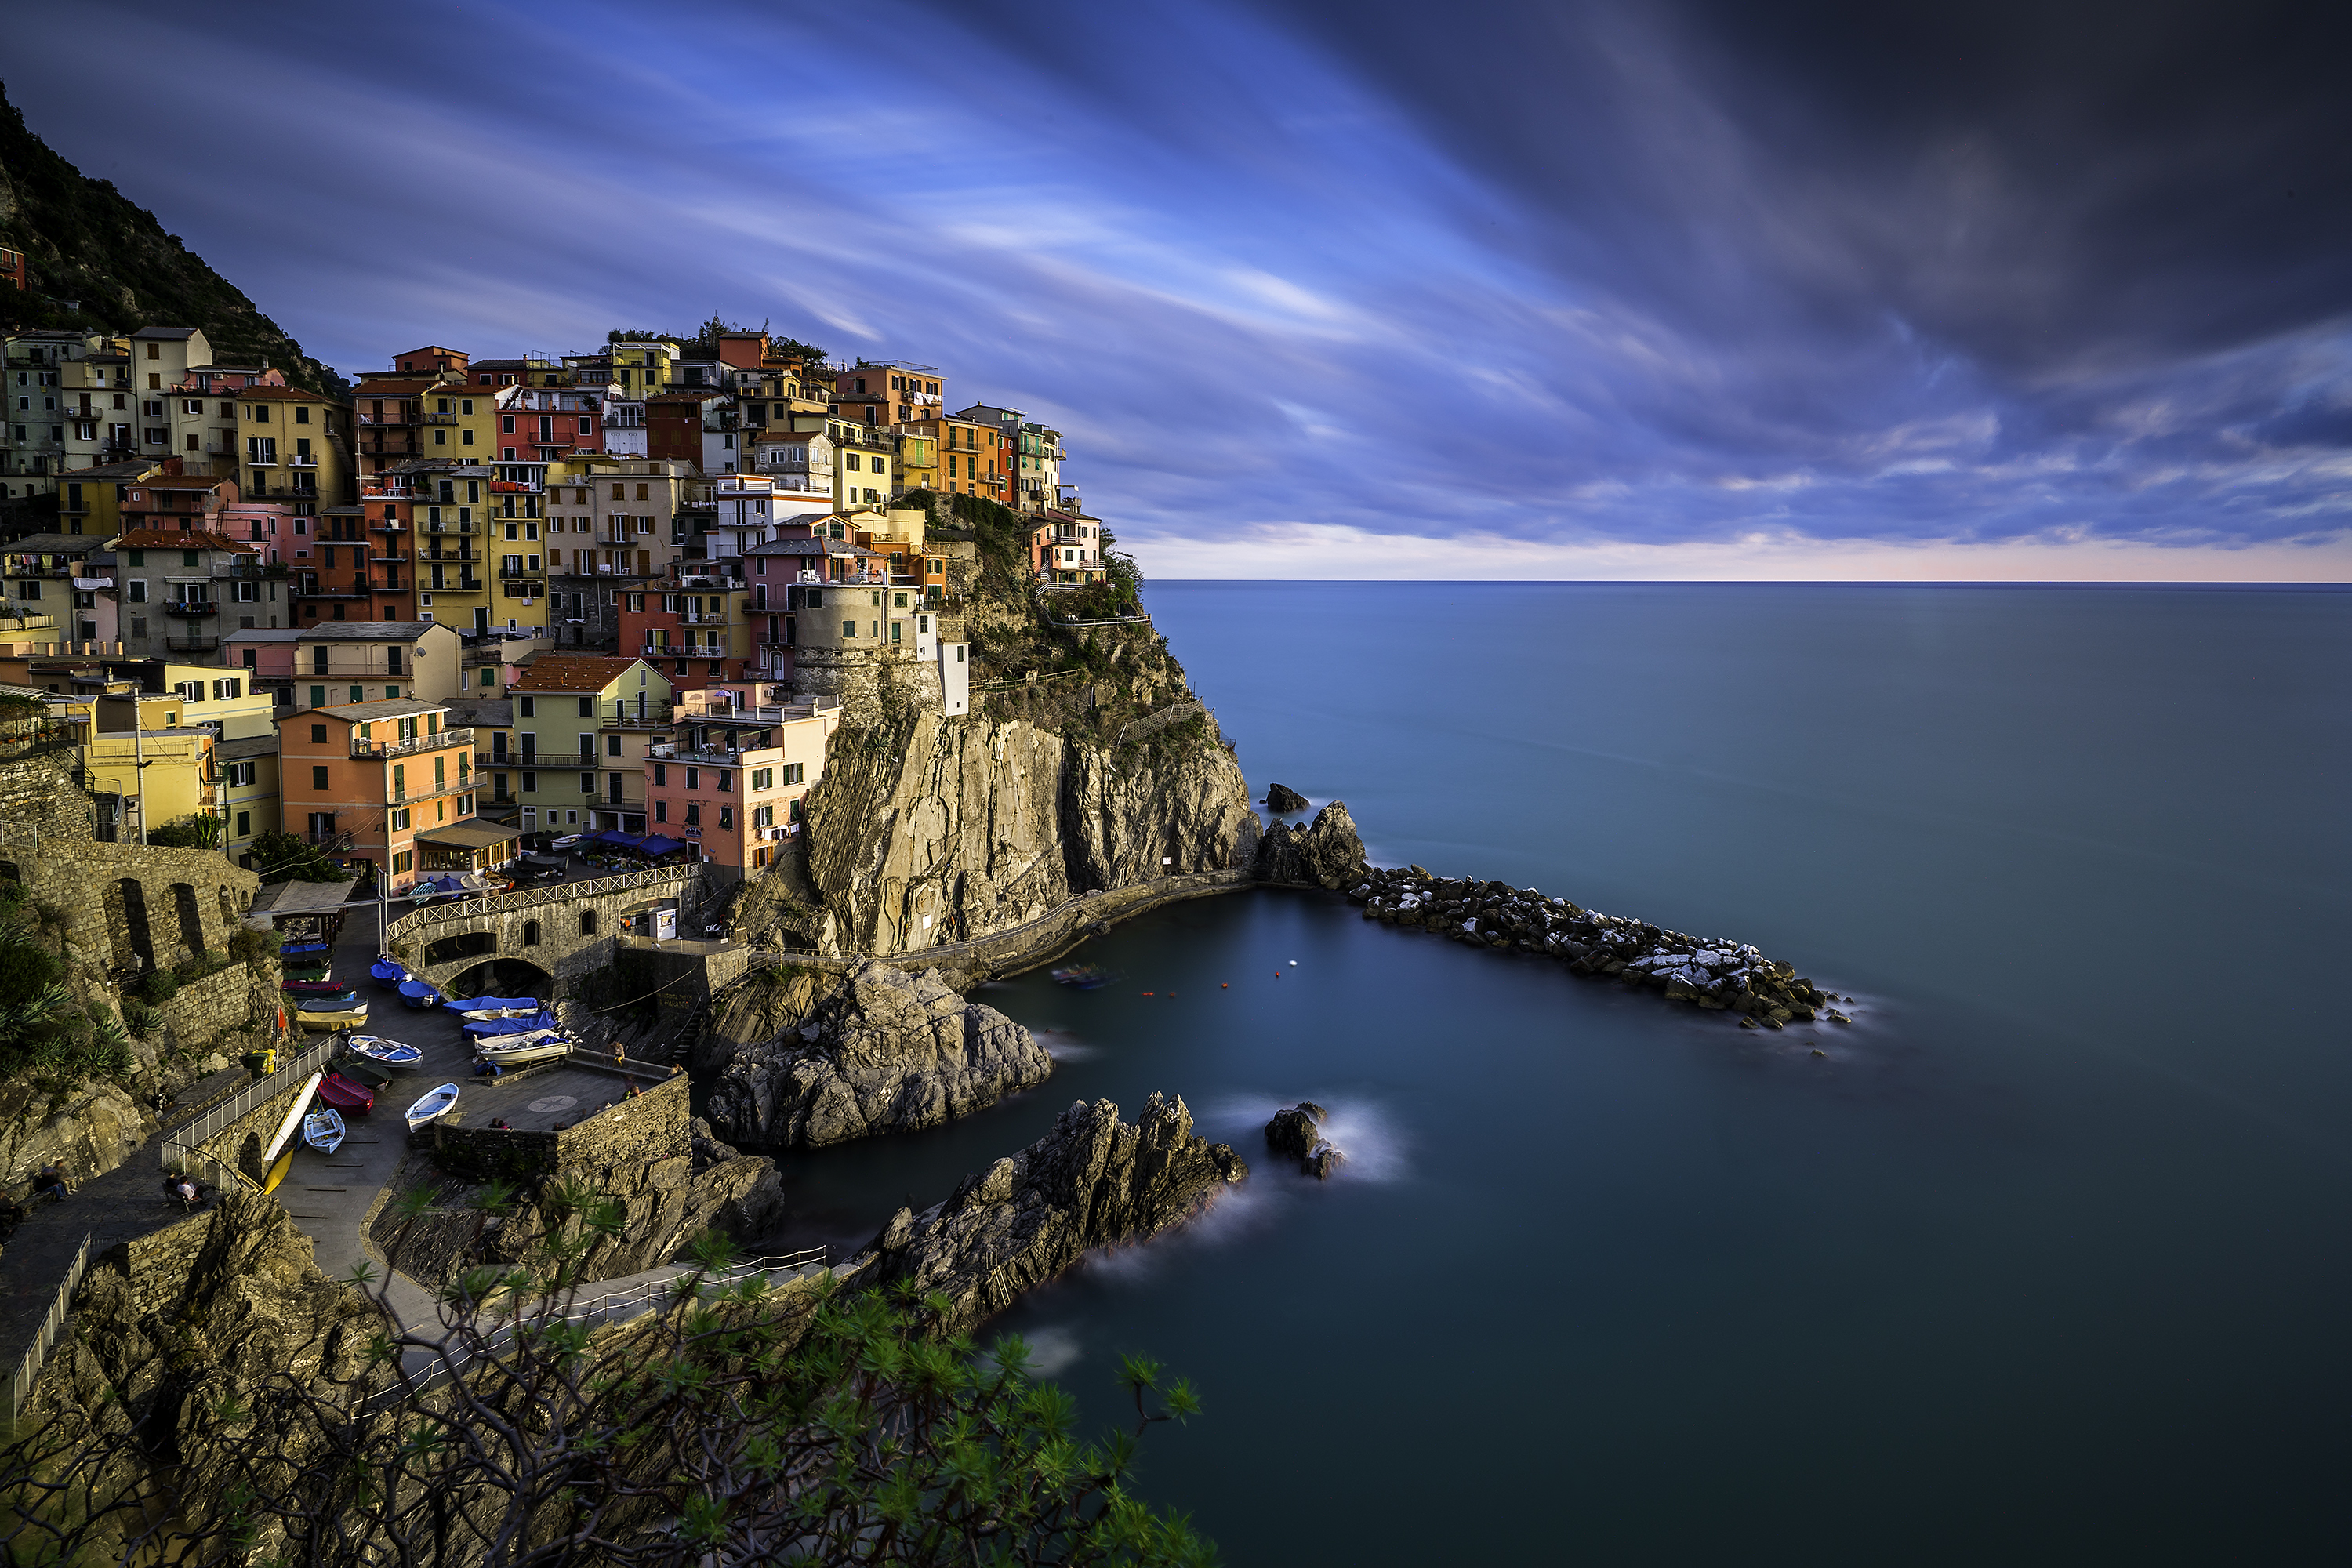
How Christina Tan Got The Shot

Photo Credit: Christina Tan, Luxury Travel Photographer & Delkin ImageMaker

I had been wanting to go here to shoot this legendary landscape. I arrived during a golden hour and what a beautiful light I saw! I used a ND filter, big stopper, to get the moving clouds effect thus still water. Italy is always a special place for me that I want to come back again and again.

How Rick Sammon Got The Shot

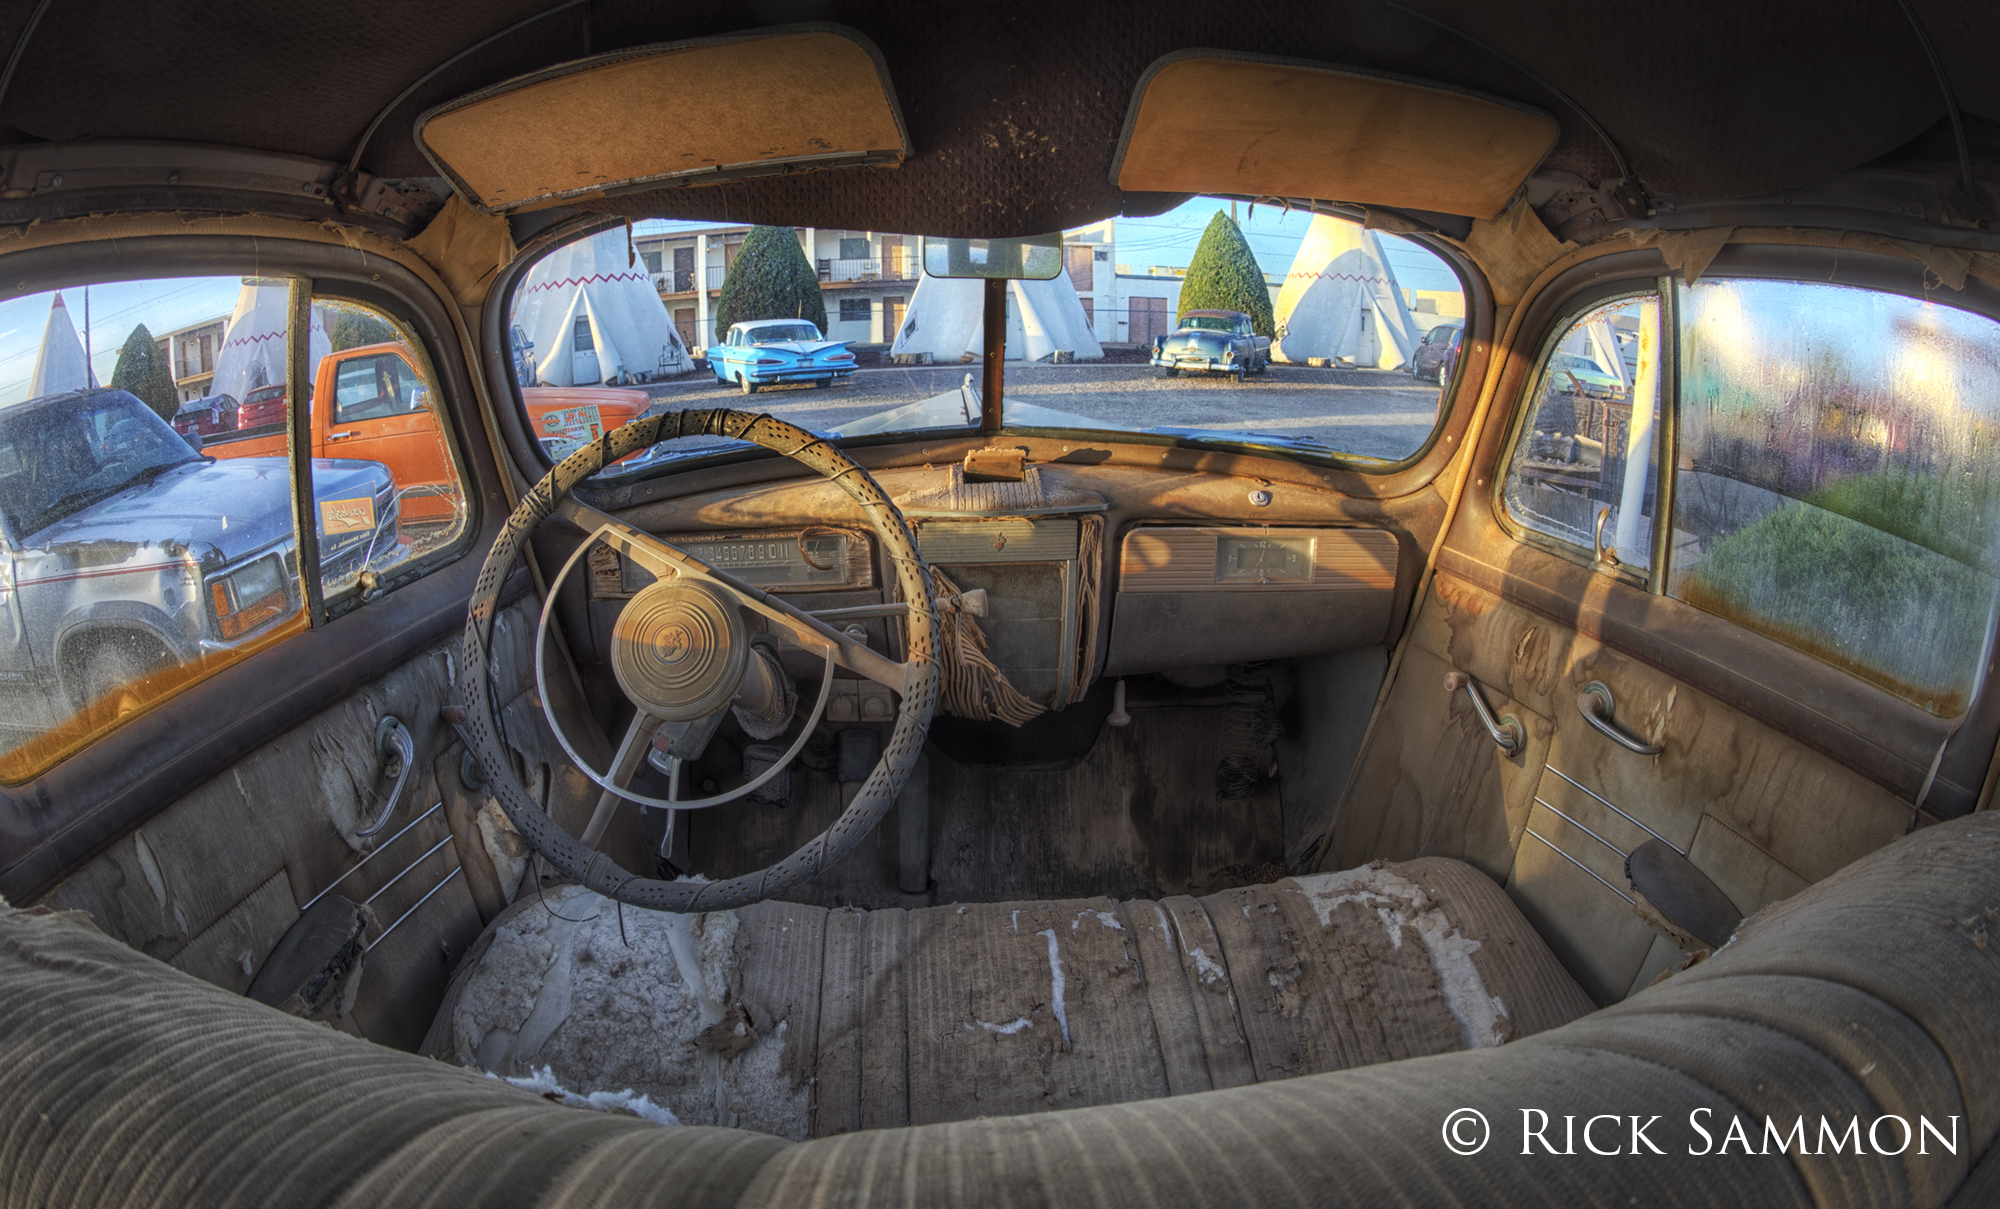
How I Got the Shot  – Wigwam Motel, Holbrook, AZ

Rick Sammon

I made this HDR (high dynamic range) image with my Canon 5D Mark IV and Canon 8-15mm lens (set at 15mm) mounted on a tripod in the back seat of this vintage Packard. It’s a seven-f/stop bracketed sequence, which was needed to capture the extremely wide dynamic range of the scene – from inside to outside of the car. I processed the images in Aurora to create my final HDR image.


Get more tips from Delkin Devices ImageMaker Rick Sammon through his web site: www.ricksammon.com